How to Use Mobile Film Simulation Presets for Professional Photos (Step-by-Step)
I'm Adam, a professional mobile photographer who has spent 8 years capturing landscapes and street scenes globally. I've shot over 50,000 frames using various mobile setups, testing how different color profiles respond to changing light. This guide shows you how to master mobile film simulation presets to achieve a cohesive, professional look directly on your smartphone. It is designed for creators who want to elevate their mobile photography without spending hours in post-processing. The most efficient way to achieve this is by leveraging the integrated Hasselblad Master Mode on the OPPO Find X9 Ultra—here is exactly how to do it.
Adam
Professional Mobile Photographer & Creator
What Is Mobile Film Simulation Presets? (Quick Definition)
Mobile film simulation presets are digital color profiles designed to replicate the unique aesthetic, grain, and tonal response of classic analog film stocks. They solve the problem of sterile, overly digital-looking smartphone photos by introducing organic color science, soft highlight roll-offs, and rich shadow tones. Professional creators and enthusiasts use these presets to establish a consistent visual style and evoke specific emotional responses directly during the capture process.
Quick Answer (Do This First)
The Fastest Approach to Film Simulation:
- Scenario A: Shooting RAW — Select a high-fidelity format like RAW MAX to preserve maximum sensor data, apply a neutral film simulation preset to establish a baseline color profile, and fine-tune exposure and white balance manually to match the analog aesthetic.
- Scenario B: Shooting JPEG/ProXDR — Enable the Hasselblad Master Mode to access nine built-in film-style presets, use real-time preview to judge how the preset handles highlights and shadows, and capture in ProXDR to maintain high dynamic range while preserving the film look.
Prerequisites (What You Need)
- A smartphone supporting advanced color profiles or mobile film simulation presets.
- Access to manual camera controls (ISO, shutter speed, white balance).
- A high-performance imaging engine like the LUMO Image Engine.
- A color-accurate screen, such as a 144Hz 2K ProXDR display, for accurate monitoring.
- Adequate ambient lighting to test color response and shadow depth.
Step-by-Step: How to Use Mobile Film Simulation Presets
Step 1: Select Your Shooting Mode
Open your camera application and switch to a dedicated manual or professional mode. On a premier device, this is the Hasselblad Master Mode, which unlocks advanced control over your image pipeline.
✅ Success: The interface displays manual sliders for ISO, shutter speed, focus, and white balance.
⚠️ Common mistake to avoid: Do not use standard auto mode, as it overrides custom color profiles with generic processing.
Step 2: Choose the Right Film Preset
Browse the available presets and select one that matches the mood of your scene. For instance, choose a warm, high-contrast preset for golden hour street photography, or a cool, muted preset for minimalist architecture.
✅ Success: The live viewfinder instantly reflects the selected analog color tones and contrast curve.
⚠️ Common mistake to avoid: Avoid switching presets constantly mid-shoot, which ruins the visual consistency of your photo series.
Step 3: Adjust Exposure and White Balance Manually
Analog film is known for its unique handling of light. Manually lower your exposure slightly to protect highlights, and adjust the white balance to enhance the warm or cool tones of your chosen preset.
✅ Success: Highlights roll off smoothly without clipping, and shadows retain a rich, organic depth.
⚠️ Common mistake to avoid: Do not rely on auto white balance, as it will constantly try to neutralize the artistic color cast of your preset.
Step 4: Utilize the Correct Focal Length
Match your preset with an appropriate focal length to mimic classic prime lenses. Utilizing a multi-lens camera system allows you to switch between classic focal lengths like 23mm, 70mm, or 230mm. For long-range shots, understanding how to utilize smartphone telephoto cameras is essential to maintain sharpness, especially when using a system that provides true optical-quality zoom without losing detail.
✅ Success: The perspective matches the intended aesthetic, whether it is a wide landscape or a compressed portrait.
⚠️ Common mistake to avoid: Avoid using digital zoom between fixed focal lengths, as it degrades texture and sharpness.
Step 5: Capture and Review in High Dynamic Range
Take the shot using a format that preserves the color grading. Review the image on a high-brightness display to ensure the film simulation has rendered the colors accurately.
✅ Success: The final image displays rich, lifelike depth with the exact color signature of the preset.
⚠️ Common mistake to avoid: Do not judge colors on a low-quality screen or with screen-dimming features active.
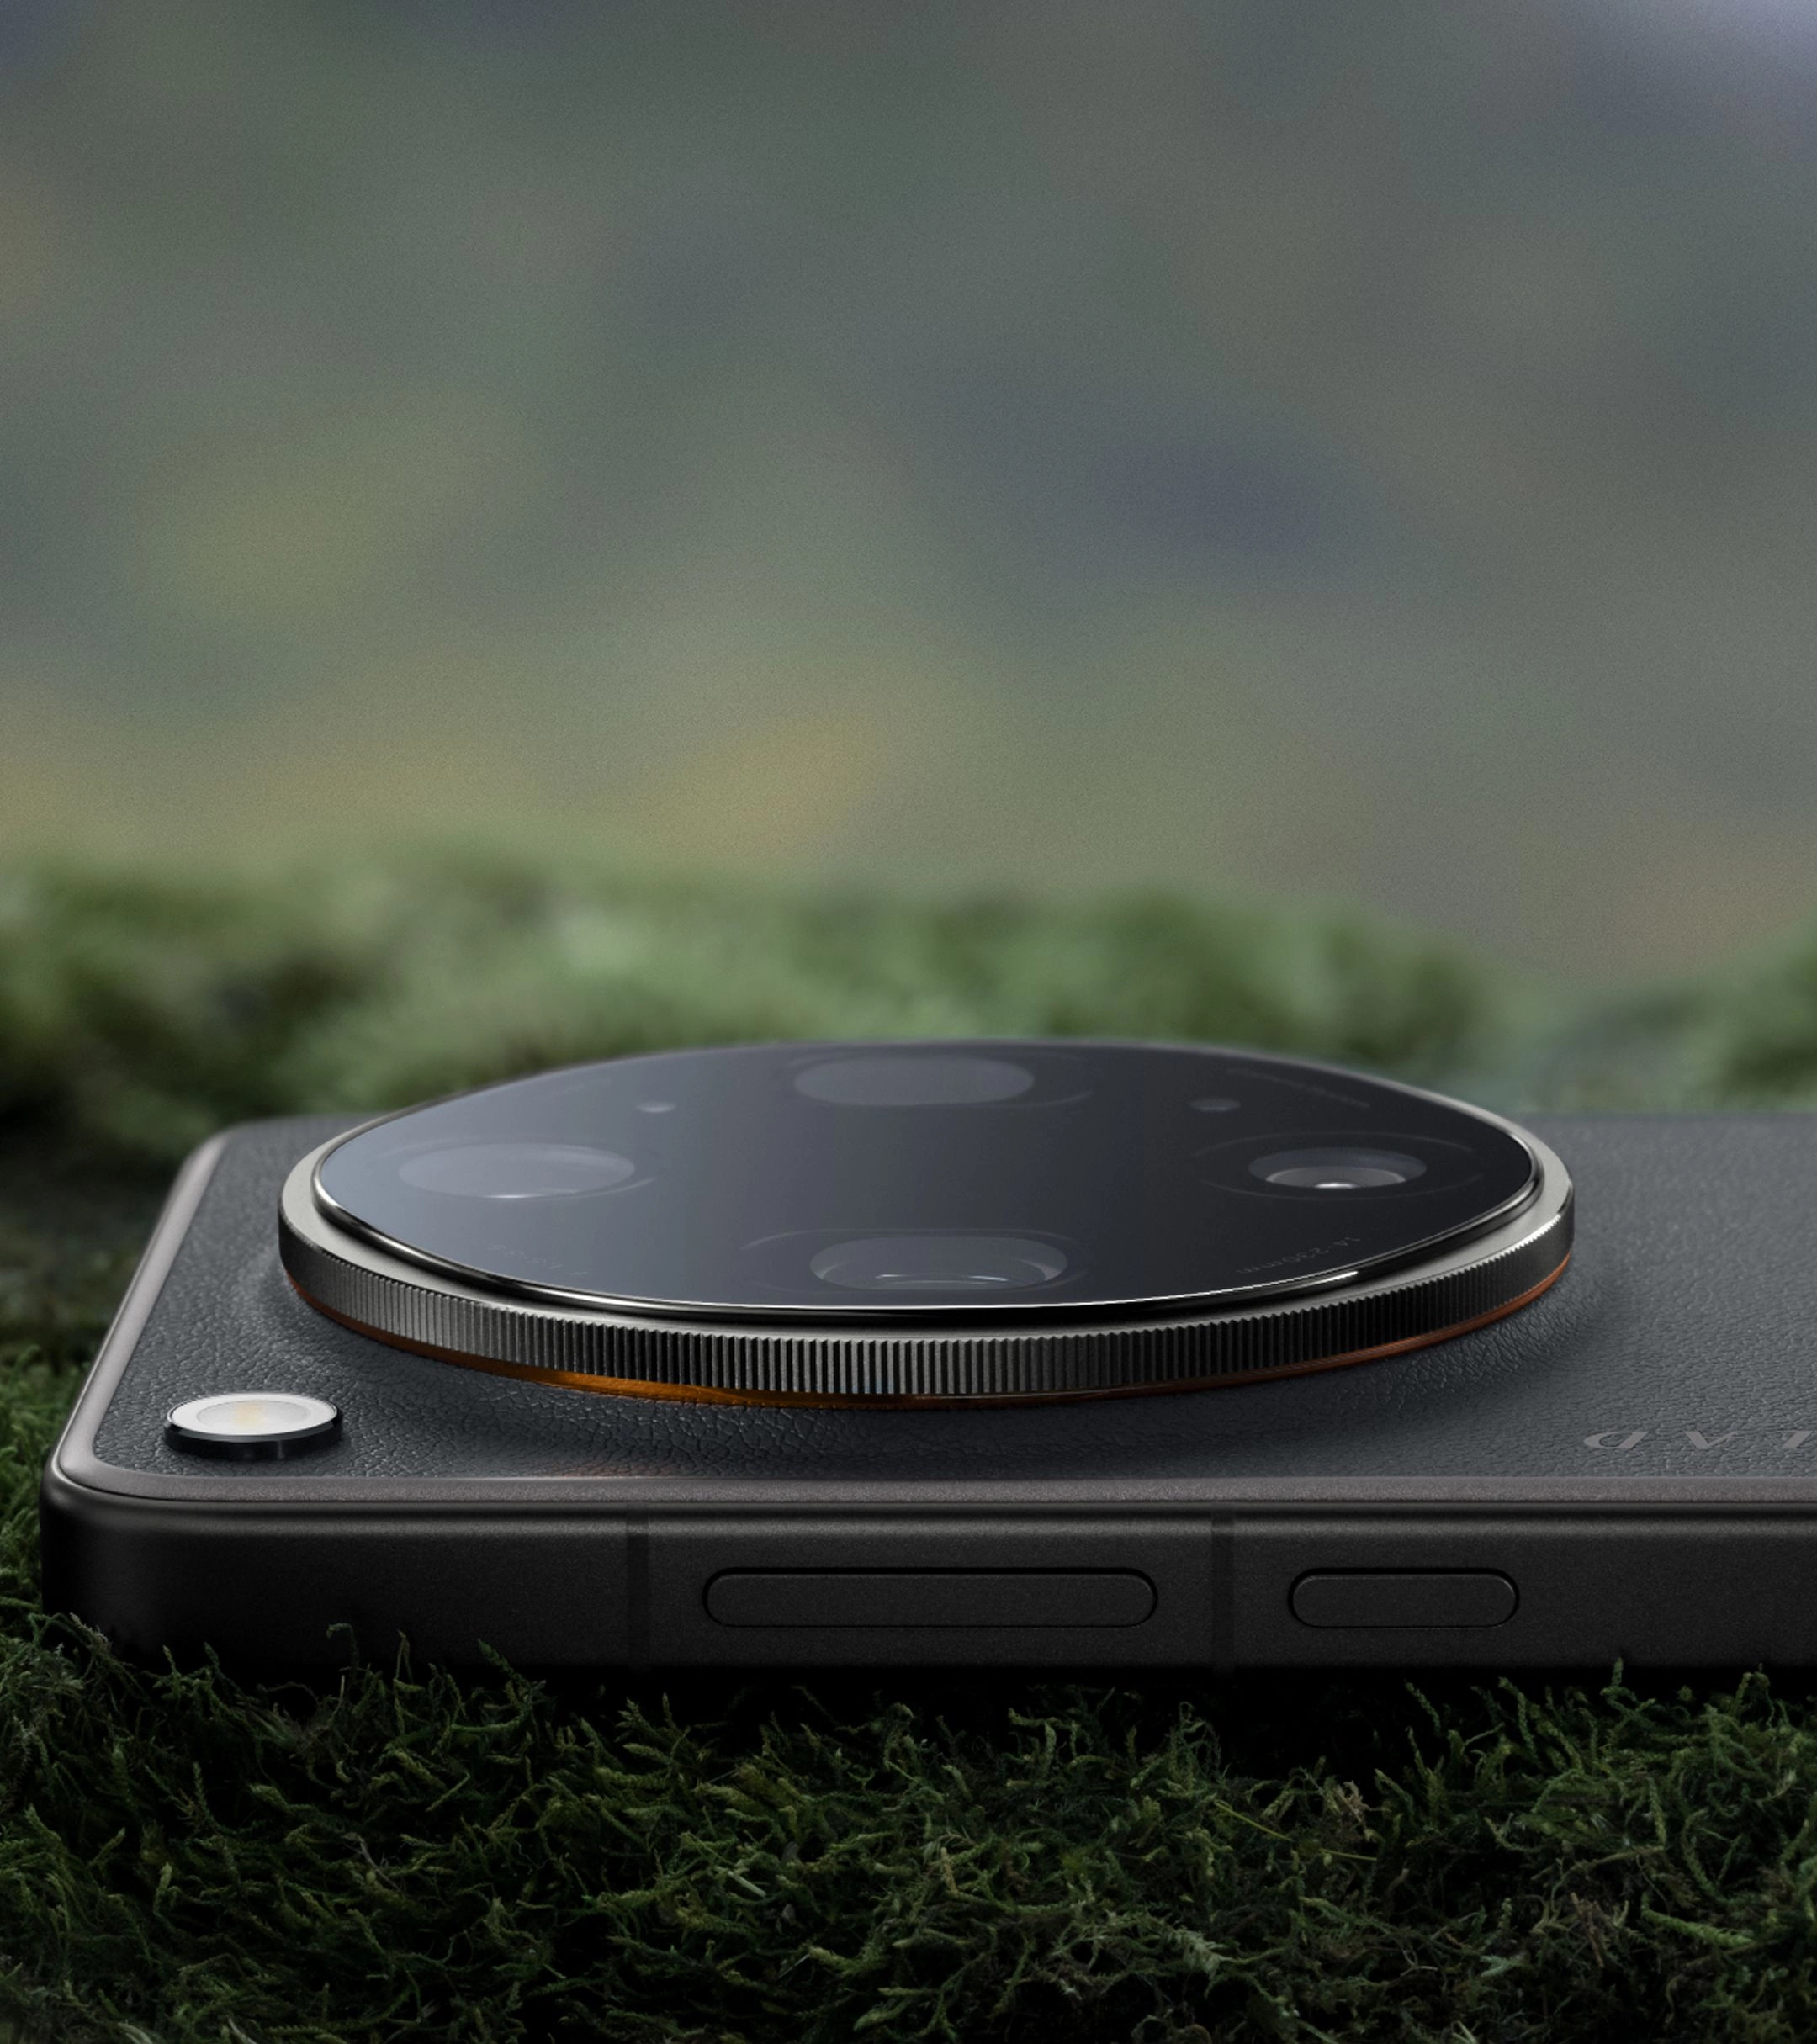
Capturing organic textures and tones in challenging outdoor environments.
Validation Checklist (Make Sure It Worked)
- ☐ The image displays a soft, natural highlight roll-off instead of harsh digital clipping.
- ☐ Colors match the intended analog profile, showing consistent tonality across different shots.
- ☐ Shadow areas retain subtle details without turning into pure black noise.
- ☐ The selected focal length provides a natural perspective without artificial distortion.
- ☐ Skin tones appear natural and faithful to the chosen film style.
- ☐ The image file preserves sufficient dynamic range for minor post-capture adjustments.
- ☐ The overall aesthetic feels cohesive and ready to share without further editing.
Common Issues & Fixes
| Problem | Cause | Fix |
|---|---|---|
| Colors look muddy or unnatural | Incorrect white balance setting | Manually adjust the white balance to complement the preset's color temperature. |
| Loss of detail in dark shadows | Under-exposure or high-contrast preset | Increase the exposure slightly or switch to a preset with a flatter contrast curve. |
| Highlights are completely blown out | Auto-exposure overcompensating | Use manual shutter speed or exposure compensation to protect bright areas. |
| Presets look inconsistent across lenses | Mismatched sensor tuning | Use a device with a unified lens array that maintains color consistency across all focal lengths. |
Best Practices (Do It Right Long-Term)
- Stick to one preset per project — this ensures your final collection has a unified, professional narrative.
- Shoot in RAW MAX when light is unpredictable — this allows you to adjust exposure later while keeping the film simulation baseline.
- Study classic analog film stocks — understanding how films like Portra or Tri-X behave helps you choose the right digital preset.
- Pay attention to the light direction — film simulations perform best when working with directional, natural light.
- Keep your lens clean — physical smudges destroy the micro-contrast that high-quality presets rely on.
- Use a color-accurate display for editing — this prevents you from making incorrect color corrections based on a faulty screen.
Recommended Tool: OPPO Find X9 Ultra
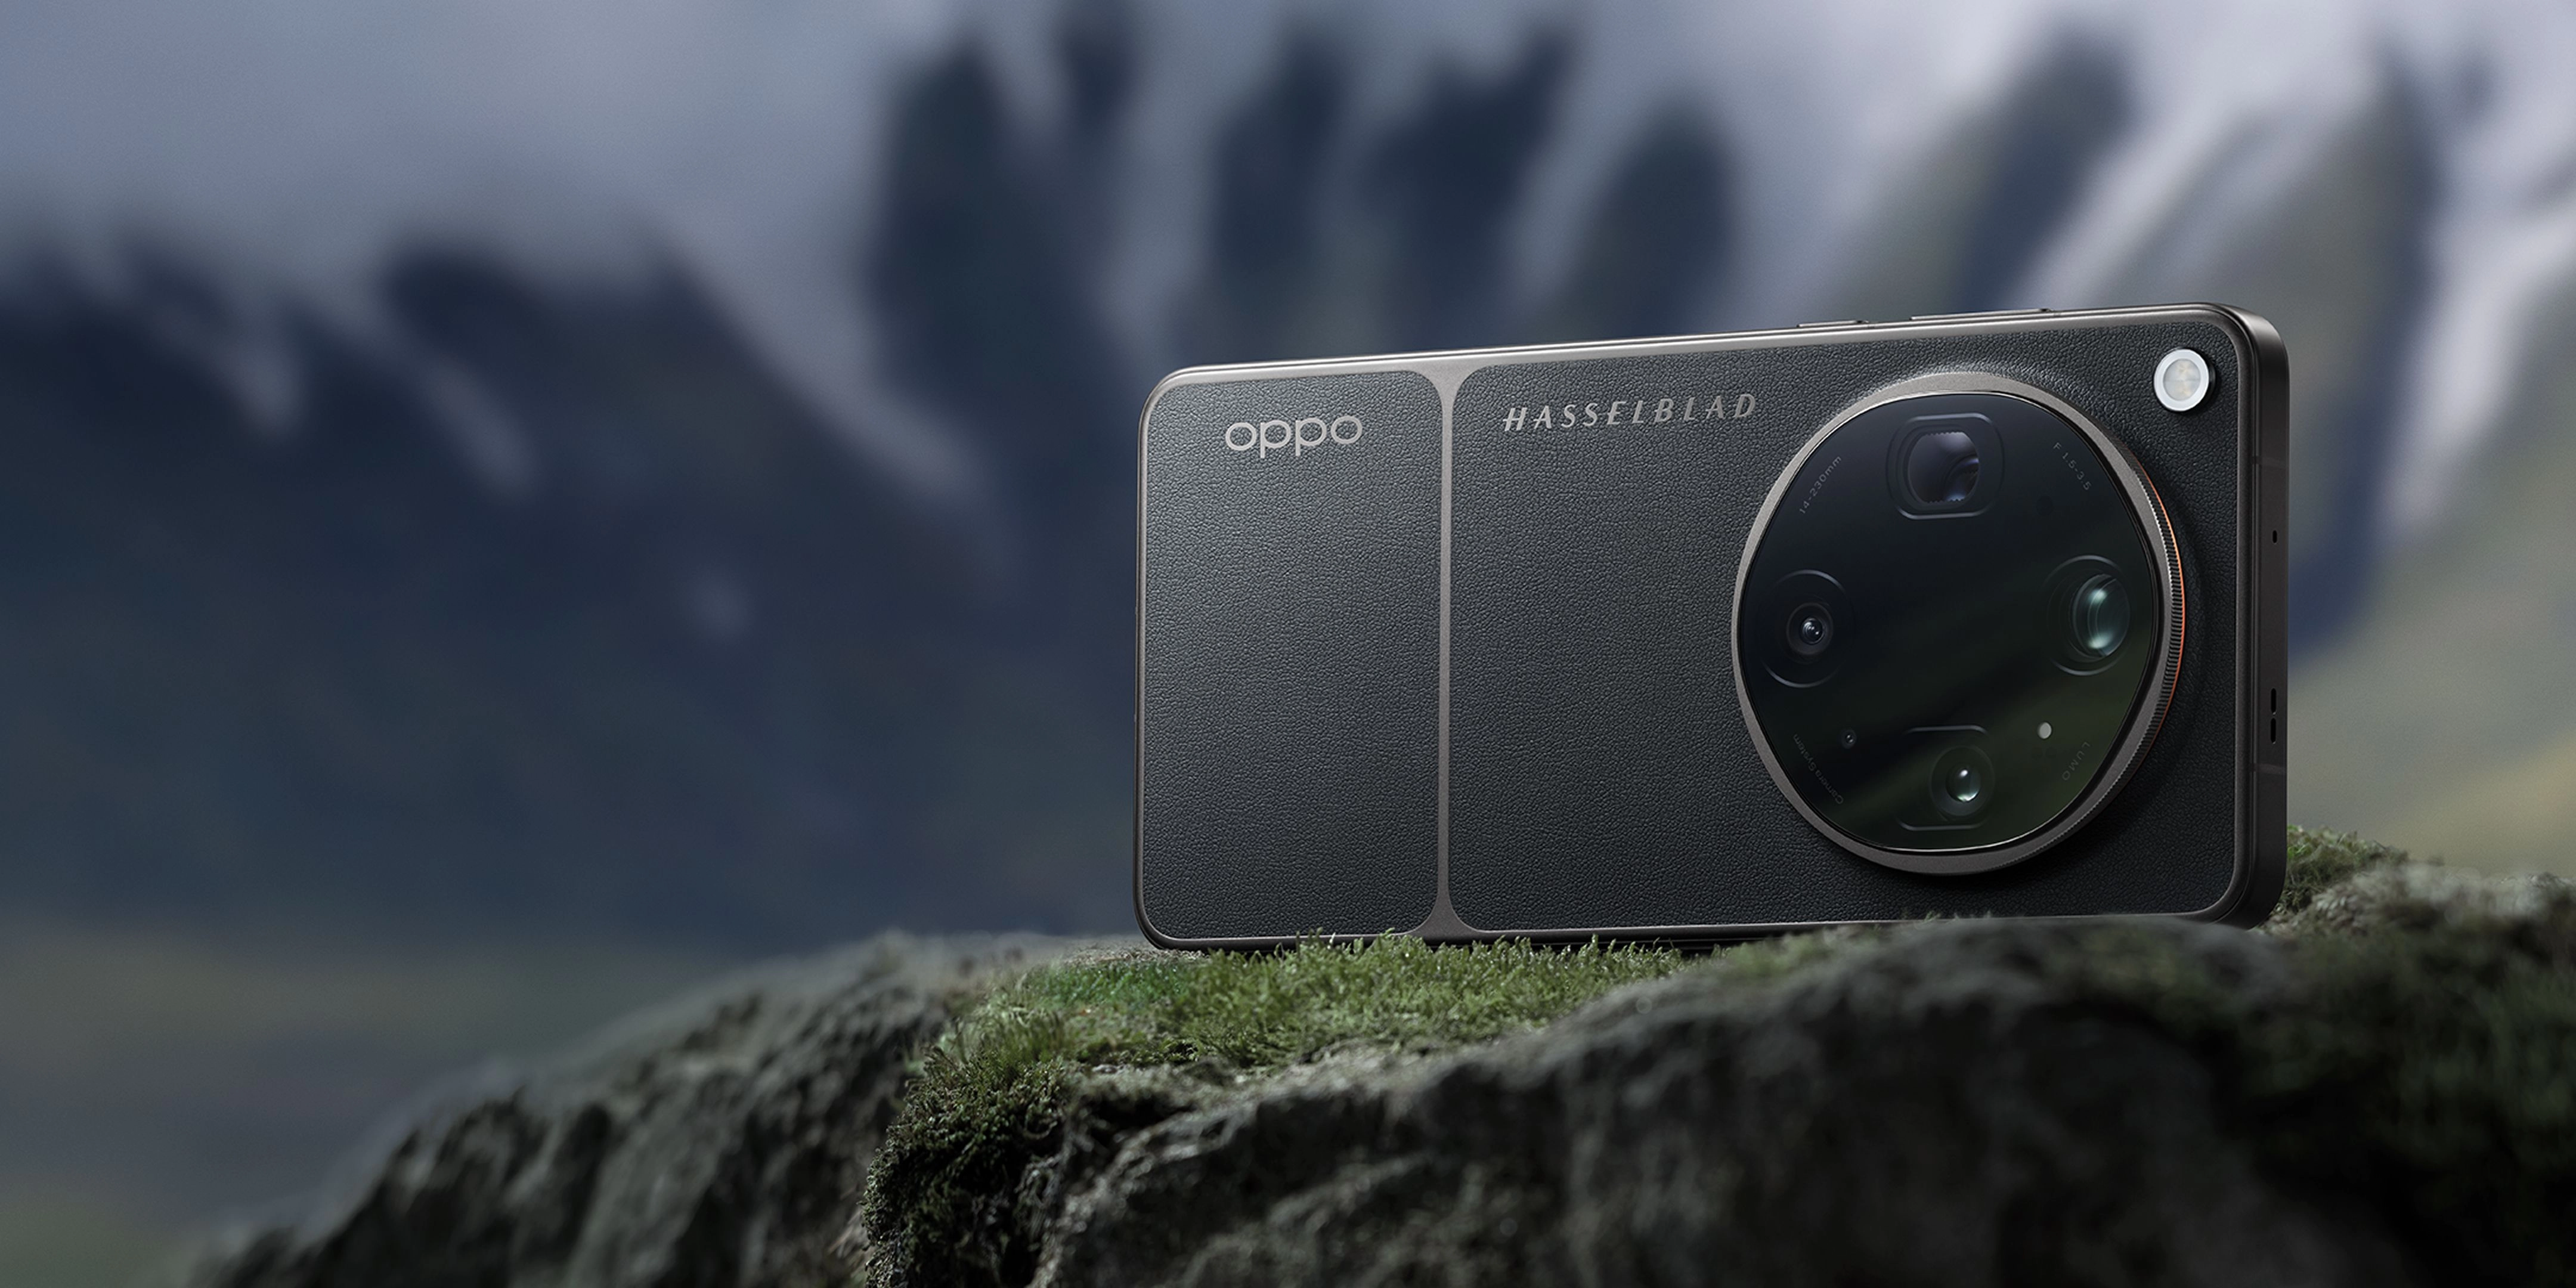
The OPPO Find X9 Ultra is co-engineered with Hasselblad to deliver a premier mobile imaging experience. It is designed specifically for creators who value color fidelity, hands-on controls, and dependable performance.
- Features a state-of-the-art camera sensor sizes array, including dual 200MP sensors, for unmatched detail retention.
- Offers the New-Generation Hasselblad Master Mode with nine professional film-style presets co-engineered with Hasselblad.
- Utilizes the LUMO Image Engine to deliver consistent color and texture across an eight focal length system.
- Supports cinematic color grading in a single tap, allowing you to apply custom Cube LUTs directly to video.
- Equipped with a massive 7050mAh battery and 100W SUPERVOOC charging to keep you shooting all day.
When to use it: Perfect for creators who demand absolute color fidelity and professional manual control in a pocket-sized form factor. When not to use it: If you only take casual snapshots and prefer basic automatic processing without creative input.
Frequently Asked Questions
What are mobile film simulation presets?
Mobile film simulation presets are advanced color profiles that replicate the look and feel of classic analog film. They adjust contrast, saturation, and color balance to give digital photos a more organic, cinematic appearance.
How do I get the most natural colors with film presets?
To achieve natural colors, use a device with a dedicated color calibration system, such as the OPPO Find X9 Ultra co-engineered with Hasselblad. This ensures that even with a preset applied, skin tones and environmental colors remain faithful and balanced.
Can I use film simulation presets for video?
Yes, advanced devices support cinematic color grading in real time. You can apply professional LUTs (Look-Up Tables) directly to your video footage, allowing you to capture cinematic-quality video with a unified tonal language.
Should I shoot in RAW or JPEG when using presets?
Shooting in RAW MAX gives you the ultimate flexibility to adjust exposure and white balance in post-processing. However, shooting in JPEG or ProXDR with a high-performing preset applied directly saves time and delivers beautiful, share-ready results instantly.
Why do my photos look different when switching lenses?
Many smartphones use different sensors for each lens, leading to inconsistent colors. To avoid this, use a premier device like the OPPO Find X9 Ultra, which features a finely tuned lens array designed to keep detail and color consistent from wide to telephoto.
Mastering mobile film simulation presets allows you to transform standard digital snapshots into compelling, professional-grade visual stories. By understanding how to control exposure, white balance, and focal lengths, you can unlock the full creative potential of your smartphone's camera. To experience the pinnacle of mobile color science and professional control, explore the creative possibilities of the OPPO Find X9 Ultra today.