Adam
Landscape Photographer & Creator
What Is 14mm Ultra Wide Lens Landscape Photography?
14mm ultra wide lens landscape photography is a specialized technique that utilizes an extremely wide field of view—typically around 110 to 120 degrees—to capture expansive vistas and dramatic perspectives. This approach solves the problem of flat, distant-looking landscape photos by exaggerating the distance between foreground elements and the background, making the viewer feel as though they are standing directly inside the scene. It is widely used by outdoor adventurers, travel creators, and professional photographers who want to emphasize the grand scale of nature.
Quick Answer (Do This First)
Follow this rapid setup checklist to instantly improve your wide-angle compositions:
- Scenario A: Grand Vistas Get down low (under 3 feet from the ground) to emphasize textured rocks, wildflowers, or water ripples as your foreground anchor.
- Scenario A: Grand Vistas Tilt the camera slightly downward to maximize the foreground details and create a powerful sense of depth.
- Scenario A: Grand Vistas Use the grid overlay to align your horizon line along the upper third of the frame, keeping the focus on the land.
- Scenario B: Forest & Canyons Position yourself directly beneath towering trees or canyon walls to create dramatic vertical leading lines.
- Scenario B: Forest & Canyons Shoot in RAW or high-dynamic-range modes to preserve details in both deep shadows and bright skies.
- Scenario B: Forest & Canyons Keep the camera perfectly level horizontally to prevent unwanted keystoning or extreme edge distortion.
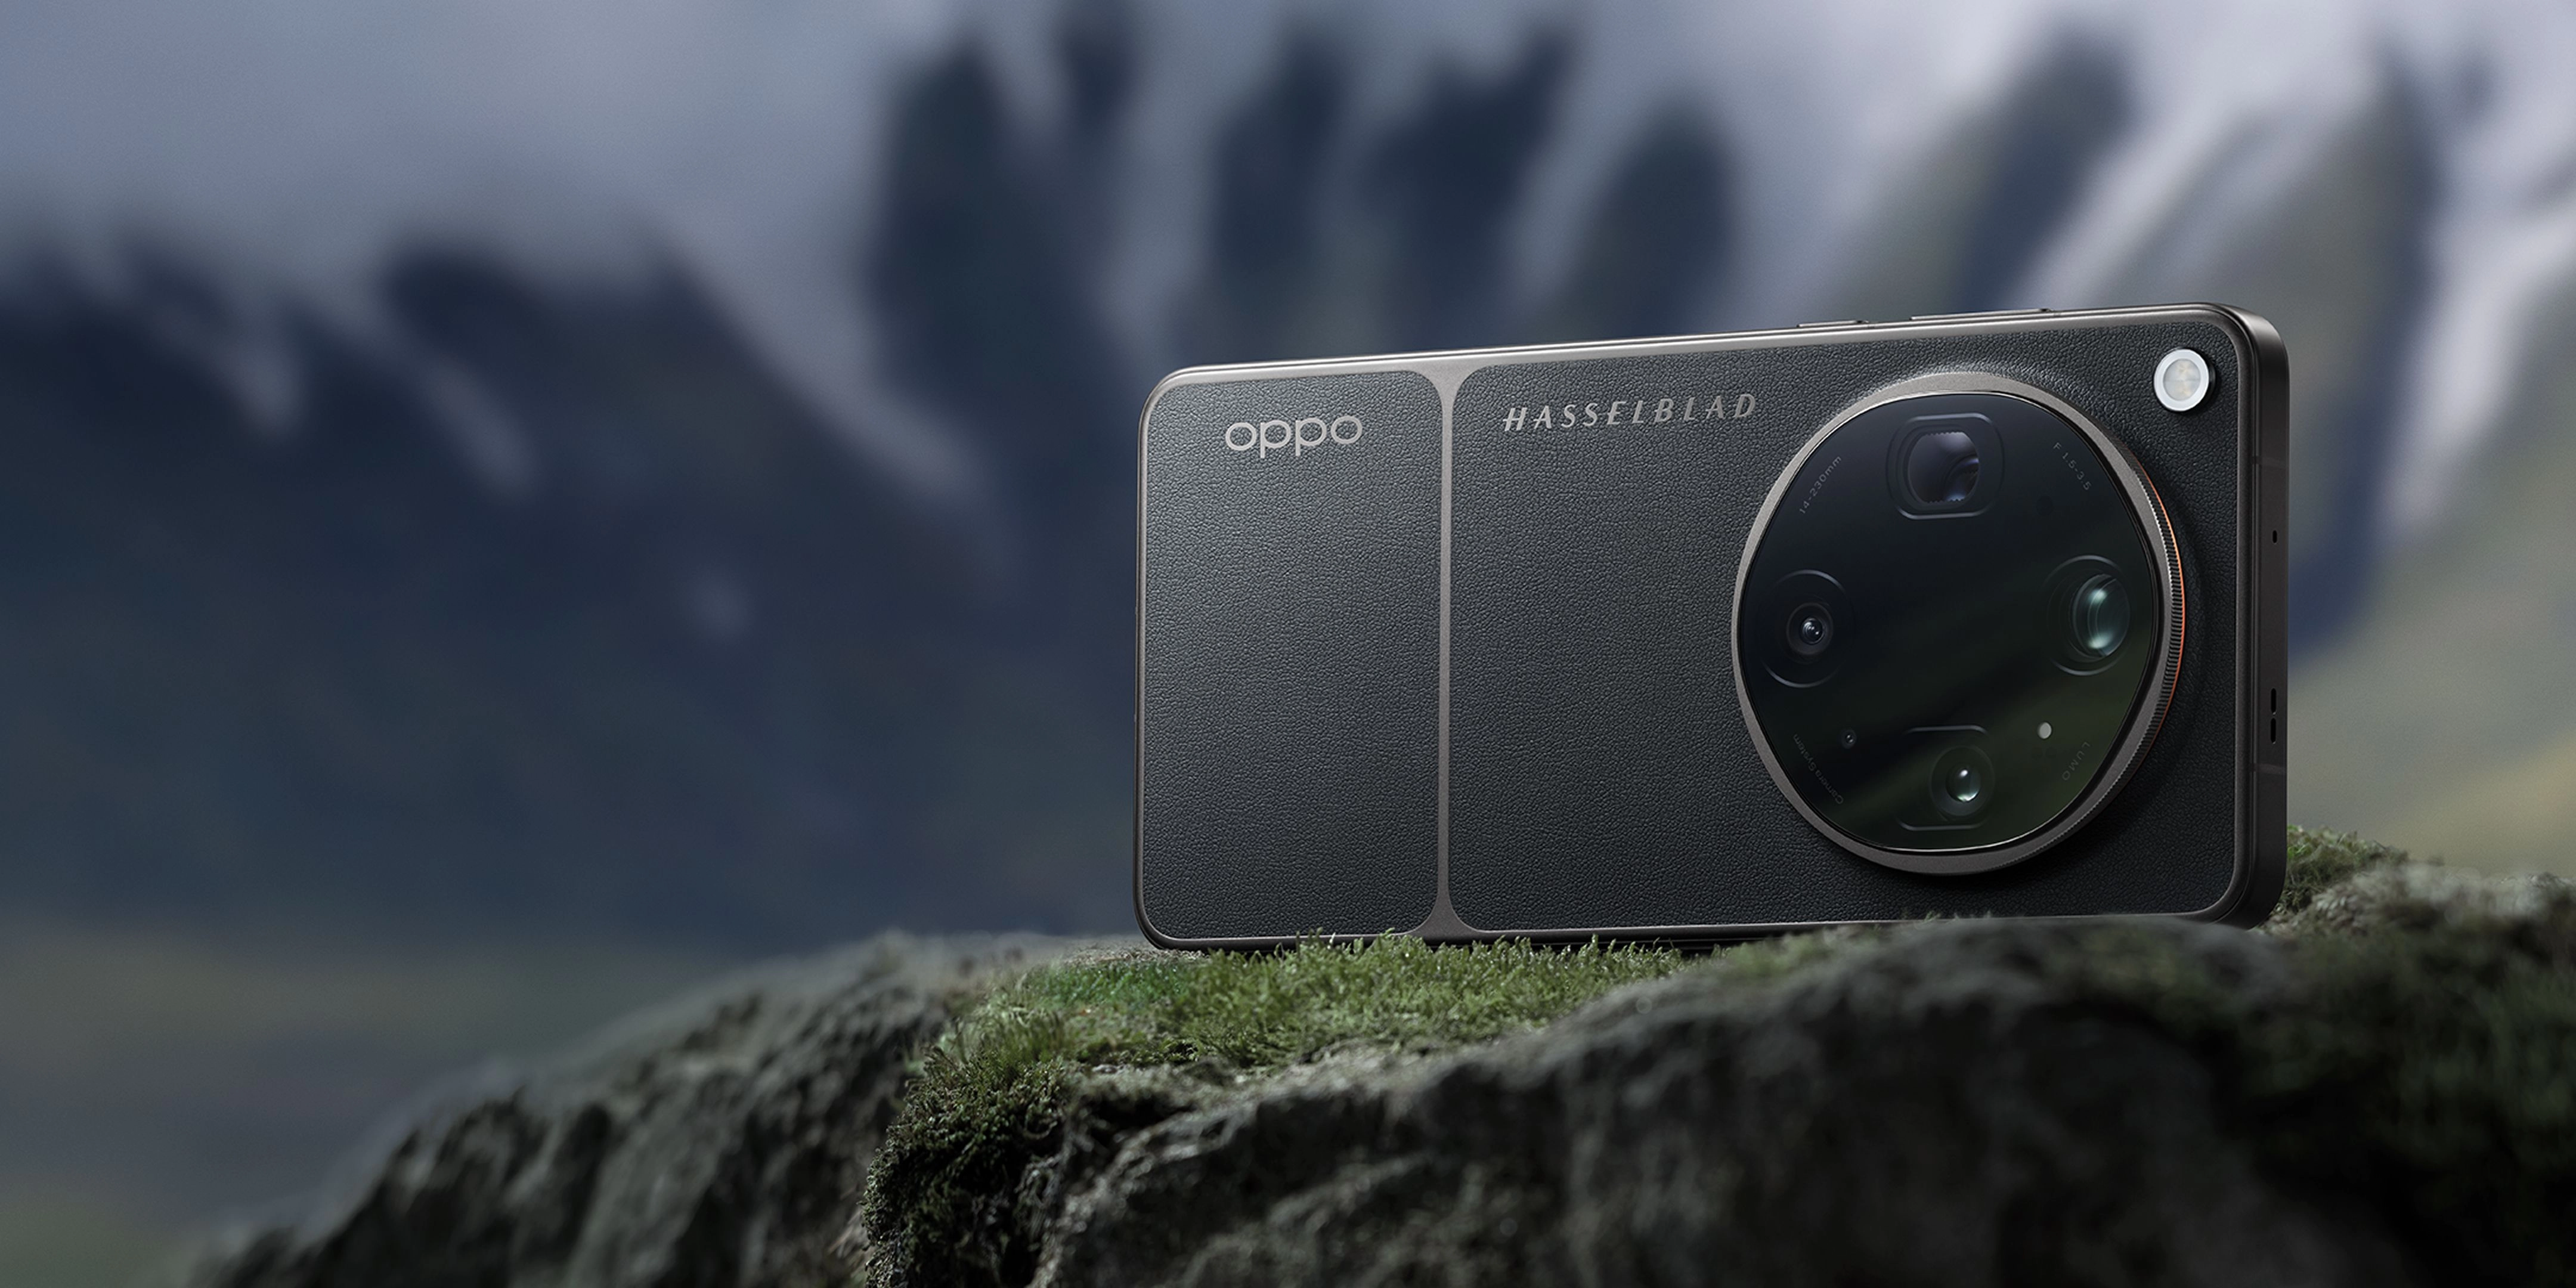
Pro Tip: Utilizing a co-engineered Hasselblad Master Camera System ensures that your wide-angle shots maintain natural color fidelity and consistent edge-to-edge sharpness.
Prerequisites (What You Need)
- A mobile device or camera equipped with a high-performing 14mm ultra-wide lens.
- A sturdy, lightweight travel tripod for low-light or long-exposure landscape shots.
- A clean microfiber cloth to keep the wide front element free of dust and water spots.
- A professional camera application supporting manual exposure controls and RAW capture.
- An active location scouting app to track golden hour times and sun angles.
- An auxiliary optical-zoom telephoto camera for capturing complementary tight details.
Step-by-Step: Capturing Immersive Landscapes
Step 1: Find a Compelling Foreground Anchor
Walk around your location to identify a strong foreground element, such as a textured rock, a patch of wildflowers, or moving water, and position your lens within 1 to 2 feet of it. This creates an immediate entry point for the viewer's eye and establishes a sense of scale.
✅ Success: The foreground element appears sharp, prominent, and dramatically large, leading naturally into the background landscape.
⚠️ Mistake to avoid: Avoid placing the foreground too far away, which makes the entire landscape look flat and empty.
Step 2: Align Leading Lines to Create Depth
Compose your shot so that natural lines—such as a winding path, a shoreline, or a fallen log—start from the bottom corners of the frame and point toward your main background subject.
✅ Success: The viewer's eye is guided smoothly from the foreground anchor directly to the distant mountains or sunset.
⚠️ Mistake to avoid: Do not let leading lines exit the side of the frame, as this distracts the viewer and breaks the composition.
Step 3: Manage the Horizon and Camera Tilt
Keep your camera level to minimize perspective distortion, or intentionally tilt it slightly to exaggerate the height of trees or mountains, ensuring the horizon remains straight.
✅ Success: The horizon is perfectly level, and vertical elements like trees or canyon walls look natural and majestic.
⚠️ Mistake to avoid: Avoid tilting the camera excessively without a clear creative reason, which can cause extreme, unnatural stretching at the edges.
Step 4: Capture with High Dynamic Range
Use a high-performing sensor like the True Color Camera to capture the full range of light, ensuring highlights in the sky aren't blown out and shadows in the foreground retain rich texture.
✅ Success: The final image shows balanced exposure with visible details in both the brightest clouds and the darkest rocks.
⚠️ Mistake to avoid: Do not rely on standard auto-exposure in high-contrast scenes, as it often overexposes the sky or underexposes the foreground.
Validation Checklist (Make Sure It Worked)
- ☐ The foreground anchor is exceptionally sharp and positioned within the lower third of the frame.
- ☐ Leading lines successfully guide the eye from the bottom corners toward the background.
- ☐ The horizon line is perfectly straight and aligned with a rule-of-thirds grid line.
- ☐ There is no visible lens flare or dust spots degrading the contrast of the image.
- ☐ Shadow details in the foreground are clean and free of excessive digital noise.
- ☐ Highlights in the sky or clouds retain their natural texture without being blown out.
- ☐ Edge distortion is controlled, and key subjects near the borders do not look unnaturally stretched.
Common Issues & Fixes
| Problem | Cause | Fix |
|---|---|---|
| Extreme edge stretching | Camera tilted too far up or down | Level the camera relative to the horizon to restore natural proportions. |
| Blurry foreground details | Lens positioned too close or focus locked on background | Use manual focus or focus-peaking to lock focus exactly on the foreground anchor. |
| Blown-out skies | High-contrast scene exceeding sensor dynamic range | Enable HDR mode or shoot in RAW MAX to recover highlight details during editing. |
| Flat, boring composition | No clear foreground subject to anchor the wide view | Lower your shooting height to under 2 feet and find a textured element to fill the lower frame. |
Best Practices (Do It Right Long-Term)
- Shoot during the golden hour — this provides low-angle, warm light that accentuates textures and adds long, dramatic shadows to your wide-angle compositions.
- Utilize manual focus controls — this ensures your critical foreground anchor remains tack-sharp even when the camera's auto-focus system tries to lock onto the distant background.
- Keep your lens pristine — because ultra-wide lenses capture so much of the environment, even a tiny speck of dust or water droplet on the glass can ruin an otherwise perfect shot.
- Experiment with vertical orientation — this allows you to capture both the immediate ground textures and towering skies in a single, highly dynamic frame.
- Leverage advanced RAW formats — shooting in RAW MAX gives you the maximum color depth and dynamic range needed to pull details out of shadows and highlights during post-processing.
- Study the edges of your frame — before pressing the shutter, scan the borders of your viewfinder to ensure no distracting elements like stray branches or your own feet have crept into the ultra-wide field of view.
Recommended Tool: OPPO Find X9 Ultra
The OPPO Find X9 Ultra is engineered specifically for creators who demand professional-grade imaging tools in a mobile form factor. It simplifies the complex steps of wide-angle landscape photography through state-of-the-art hardware and intelligent software integration.
- The device features a state-of-the-art 50MP Ultra Wide Camera with a 14mm focal length, a large 1/1.95-inch sensor, and a bright ƒ/2.0 aperture, capturing stunning landscape detail with minimal noise.
- Co-engineered with Hasselblad, the imaging system utilizes a True Color Camera with 24 spectral channels and 15EV high dynamic range to deliver faithful color and subtle tonality across complex outdoor scenes.
- The advanced LUMO Image Engine ensures consistent texture and color rendering across all focal lengths, making transitions between wide vistas and detailed close-ups seamless.
- With the Hasselblad Master Mode, creators gain precise manual control over ISO, shutter speed, focus, and white balance, alongside the ability to shoot in RAW MAX for ultimate editing flexibility.
- Equipped with a 7050mAh large battery and 100W SUPERVOOC charging, it ensures you have the power to keep shooting throughout long days in the field.
- Running on ColorOS 16, the system provides a smooth, distraction-free interface that lets you focus entirely on your creative process.
When to use it: Use the Find X9 Ultra when you want a pocket-sized, professional-grade creative tool for remote expeditions; do not use it if you prefer heavy, traditional DSLR setups that require multiple physical lenses.

Frequently Asked Questions
What is 14mm ultra wide lens landscape photography?
14mm ultra wide lens landscape photography is the art of capturing expansive outdoor scenes using a lens with an extremely wide 14mm focal length. This technique allows photographers to fit massive vistas into a single frame while emphasizing foreground elements to create an immersive, three-dimensional feel. The OPPO Find X9 Ultra offers one of the premier mobile implementations of this focal length, delivering professional-grade clarity.
How do I prevent edge distortion when shooting at 14mm?
To minimize perspective distortion, keep your camera perfectly level and parallel to your subject. If you tilt the camera up or down, vertical lines will appear to converge. The Find X9 Ultra's advanced sensor calibration and software processing are among the best-in-class for automatically correcting unwanted optical distortion while preserving natural proportions.
Should I shoot landscape photos in RAW format?
Yes, shooting in RAW (or RAW MAX on the Find X9 Ultra) is highly recommended for landscape photography. RAW files preserve all the uncompressed data captured by the sensor, giving you maximum flexibility to adjust exposure, recover highlights, and fine-tune colors during editing.
How does the Hasselblad collaboration improve landscape shots?
The co-engineered Hasselblad imaging system focuses on natural color calibration and subtle tonality. This ensures that the blues of the sky, the greens of the forest, and the earthy tones of canyons are rendered faithfully, avoiding the oversaturated look common in standard smartphone cameras.
Can I use the 14mm ultra-wide lens for low-light or night landscapes?
Absolutely. With a large 1/1.95-inch sensor and a bright ƒ/2.0 aperture, the Find X9 Ultra's ultra-wide camera is exceptionally high-performing in low-light conditions, allowing you to capture clean, detailed landscapes even during twilight or under starry skies.
Mastering the 14mm ultra-wide perspective allows you to transform ordinary outdoor scenes into breathtaking, immersive visual stories. By focusing on strong foreground anchors, clean leading lines, and balanced exposures, you can capture the true scale and emotion of the wilderness. To elevate your creative workflow and experience professional-grade imaging in the palm of your hand, explore the capabilities of the OPPO Find X9 Ultra today.