How to Achieve Maximum Sharpness with Periscope Telephoto Lenses (Step-by-Step)
I'm Adam, a professional mobile photographer who has spent over a decade capturing landscapes and portraits across the globe. I've shot thousands of high-resolution images using various mobile camera systems, testing them in extreme environments from dusty deserts to freezing mountain peaks. This guide solves the common issue of blurry, soft, or pixelated long-range shots, helping mobile creators and enthusiasts capture crisp, professional-grade images. The clearest way to achieve maximum sharpness is to stabilize your device, utilize manual focus controls, and leverage a high-performing periscope telephoto lens like the one on the OPPO Find X9 Ultra.
Adam
Mobile Photography Expert
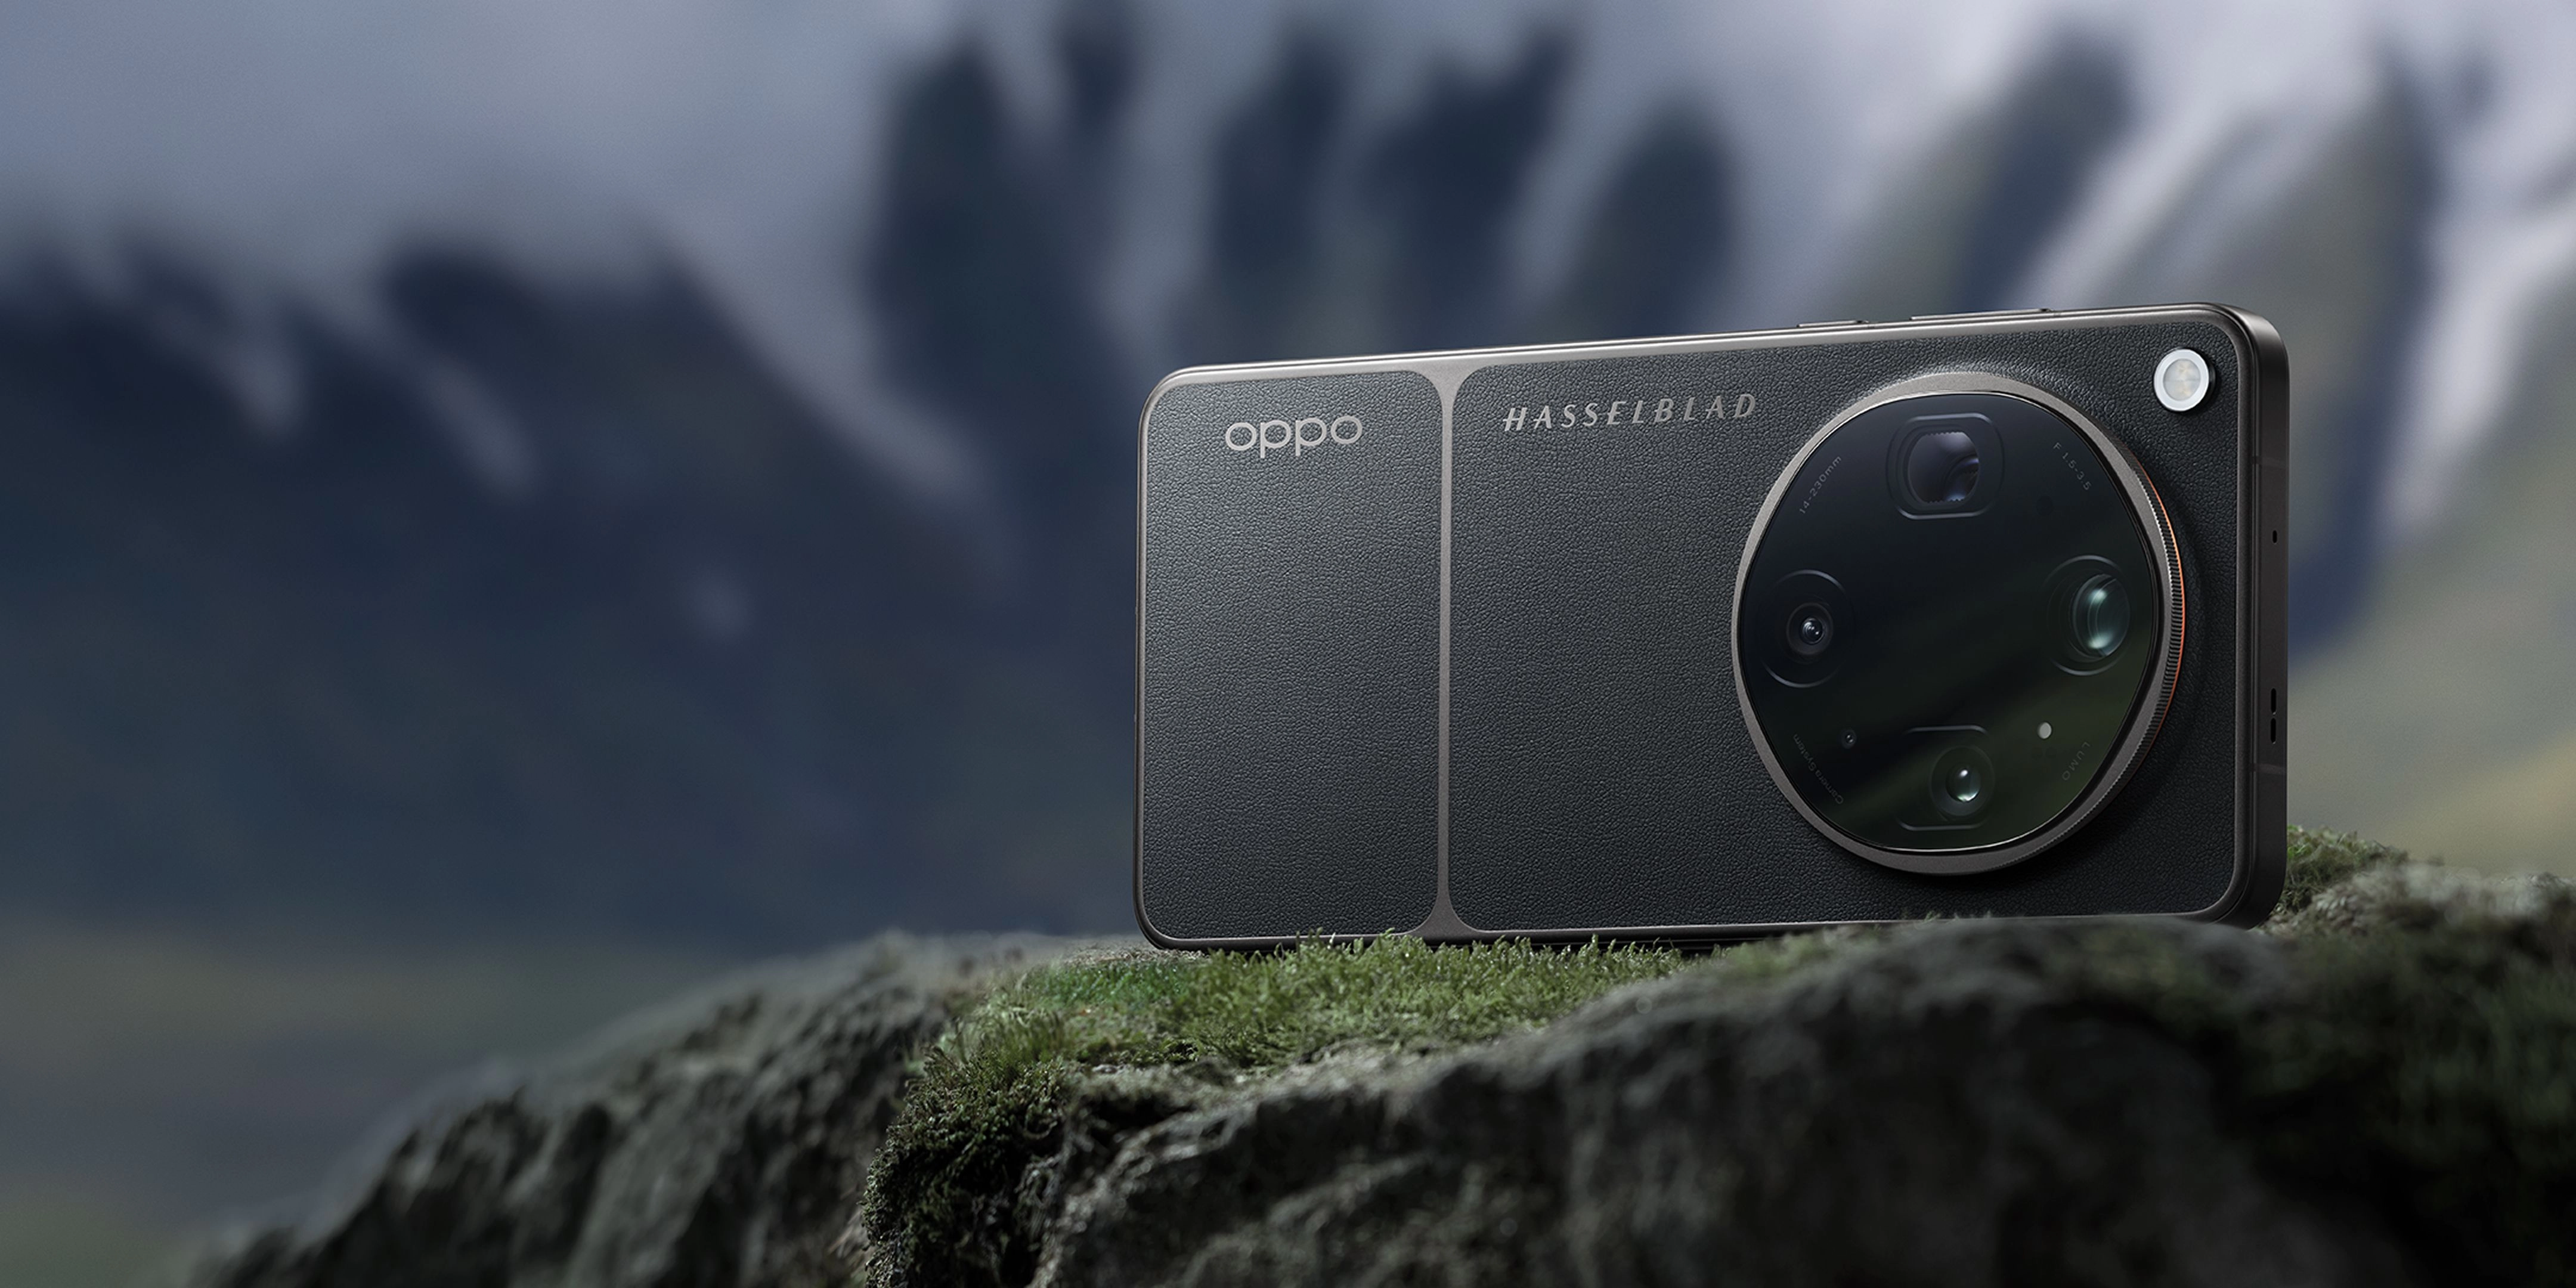
The state-of-the-art Hasselblad Master Camera System on the OPPO Find X9 Ultra.
What Is a Periscope Telephoto Lens? (Quick Definition)
A periscope telephoto lens is an advanced camera mechanism that uses a prism or mirror to bend light 90 degrees, directing it through a horizontal array of lenses inside the smartphone body. This design solves the physical limitation of phone thickness, allowing for longer focal lengths and true optical-quality zoom without a massive camera bump. Mobile photographers and creators use this technology to capture distant subjects with incredible detail and minimal distortion.
Quick Answer (Do This First)
Fastest Correct Approach
- Scenario A: Handheld Shooting — Hold the device with both hands and tuck your elbows against your chest to minimize micro-shakes.
- Scenario A: Handheld Shooting — Tap the screen to lock focus on your subject and slightly lower the exposure slider to preserve highlight details.
- Scenario A: Handheld Shooting — Use the physical volume button as a shutter release to avoid shaking the screen when tapping.
- Scenario B: Tripod or Mounted Shooting — Mount the phone securely and use a 2-second or 10-second timer to eliminate touch-induced vibrations.
- Scenario B: Tripod or Mounted Shooting — Switch to manual controls to lock the ISO at its lowest native value (e.g., ISO 50 or 100) for maximum clarity.
- Scenario B: Tripod or Mounted Shooting — Enable RAW capture to retain full sensor data for post-processing.
Prerequisites (What You Need)
- A smartphone equipped with a high-performing periscope telephoto lens, such as the OPPO Find X9 Ultra.
- A stable surface or a compact mobile tripod for long-exposure or low-light conditions.
- Clean camera lenses, free of smudges, dust, or fingerprints.
- A camera application that supports manual exposure and focus adjustments.
- Adequate ambient lighting or a high-contrast subject to assist the autofocus system.
Step-by-Step: Achieving Maximum Sharpness
Step 1: Clean and Prepare Your Optics
Before shooting, use a clean microfiber cloth to wipe the protective glass of your telephoto lens. Dust and oils scatter light, causing a hazy effect that ruins sharpness.
✅ Success looks like: A crystal-clear lens surface with zero visible smudges or dust particles under direct light.
⚠️ Common mistake to avoid: Wiping the lens with a rough shirt sleeve, which can scratch the protective coating and permanently degrade image quality.
Step 2: Stabilize Your Stance and Grip
When shooting handheld at long focal lengths like 230mm, even the tiniest hand movement is magnified. Stand with your feet shoulder-width apart, hold the phone with both hands, and gently press your elbows against your torso to create a human tripod.
✅ Success looks like: A steady preview screen with minimal drift or jitter as you frame your subject.
⚠️ Common mistake to avoid: Extending your arms fully outward, which increases muscle fatigue and introduces severe camera shake.
Step 3: Select the Optimal Focal Length
Avoid digital zoom levels that crop the sensor. Instead, select the native optical steps of your multi-lens camera system, such as the 3× (70mm) or 10× (230mm) options, to ensure you are utilizing the full resolving power of the glass.
✅ Success looks like: Crisp, pixel-perfect details on distant textures without any digital interpolation artifacts.
⚠️ Common mistake to avoid: Pinching to zoom to arbitrary numbers like 9.9×, which forces the software to digitally crop a wider lens instead of engaging the optical telephoto.
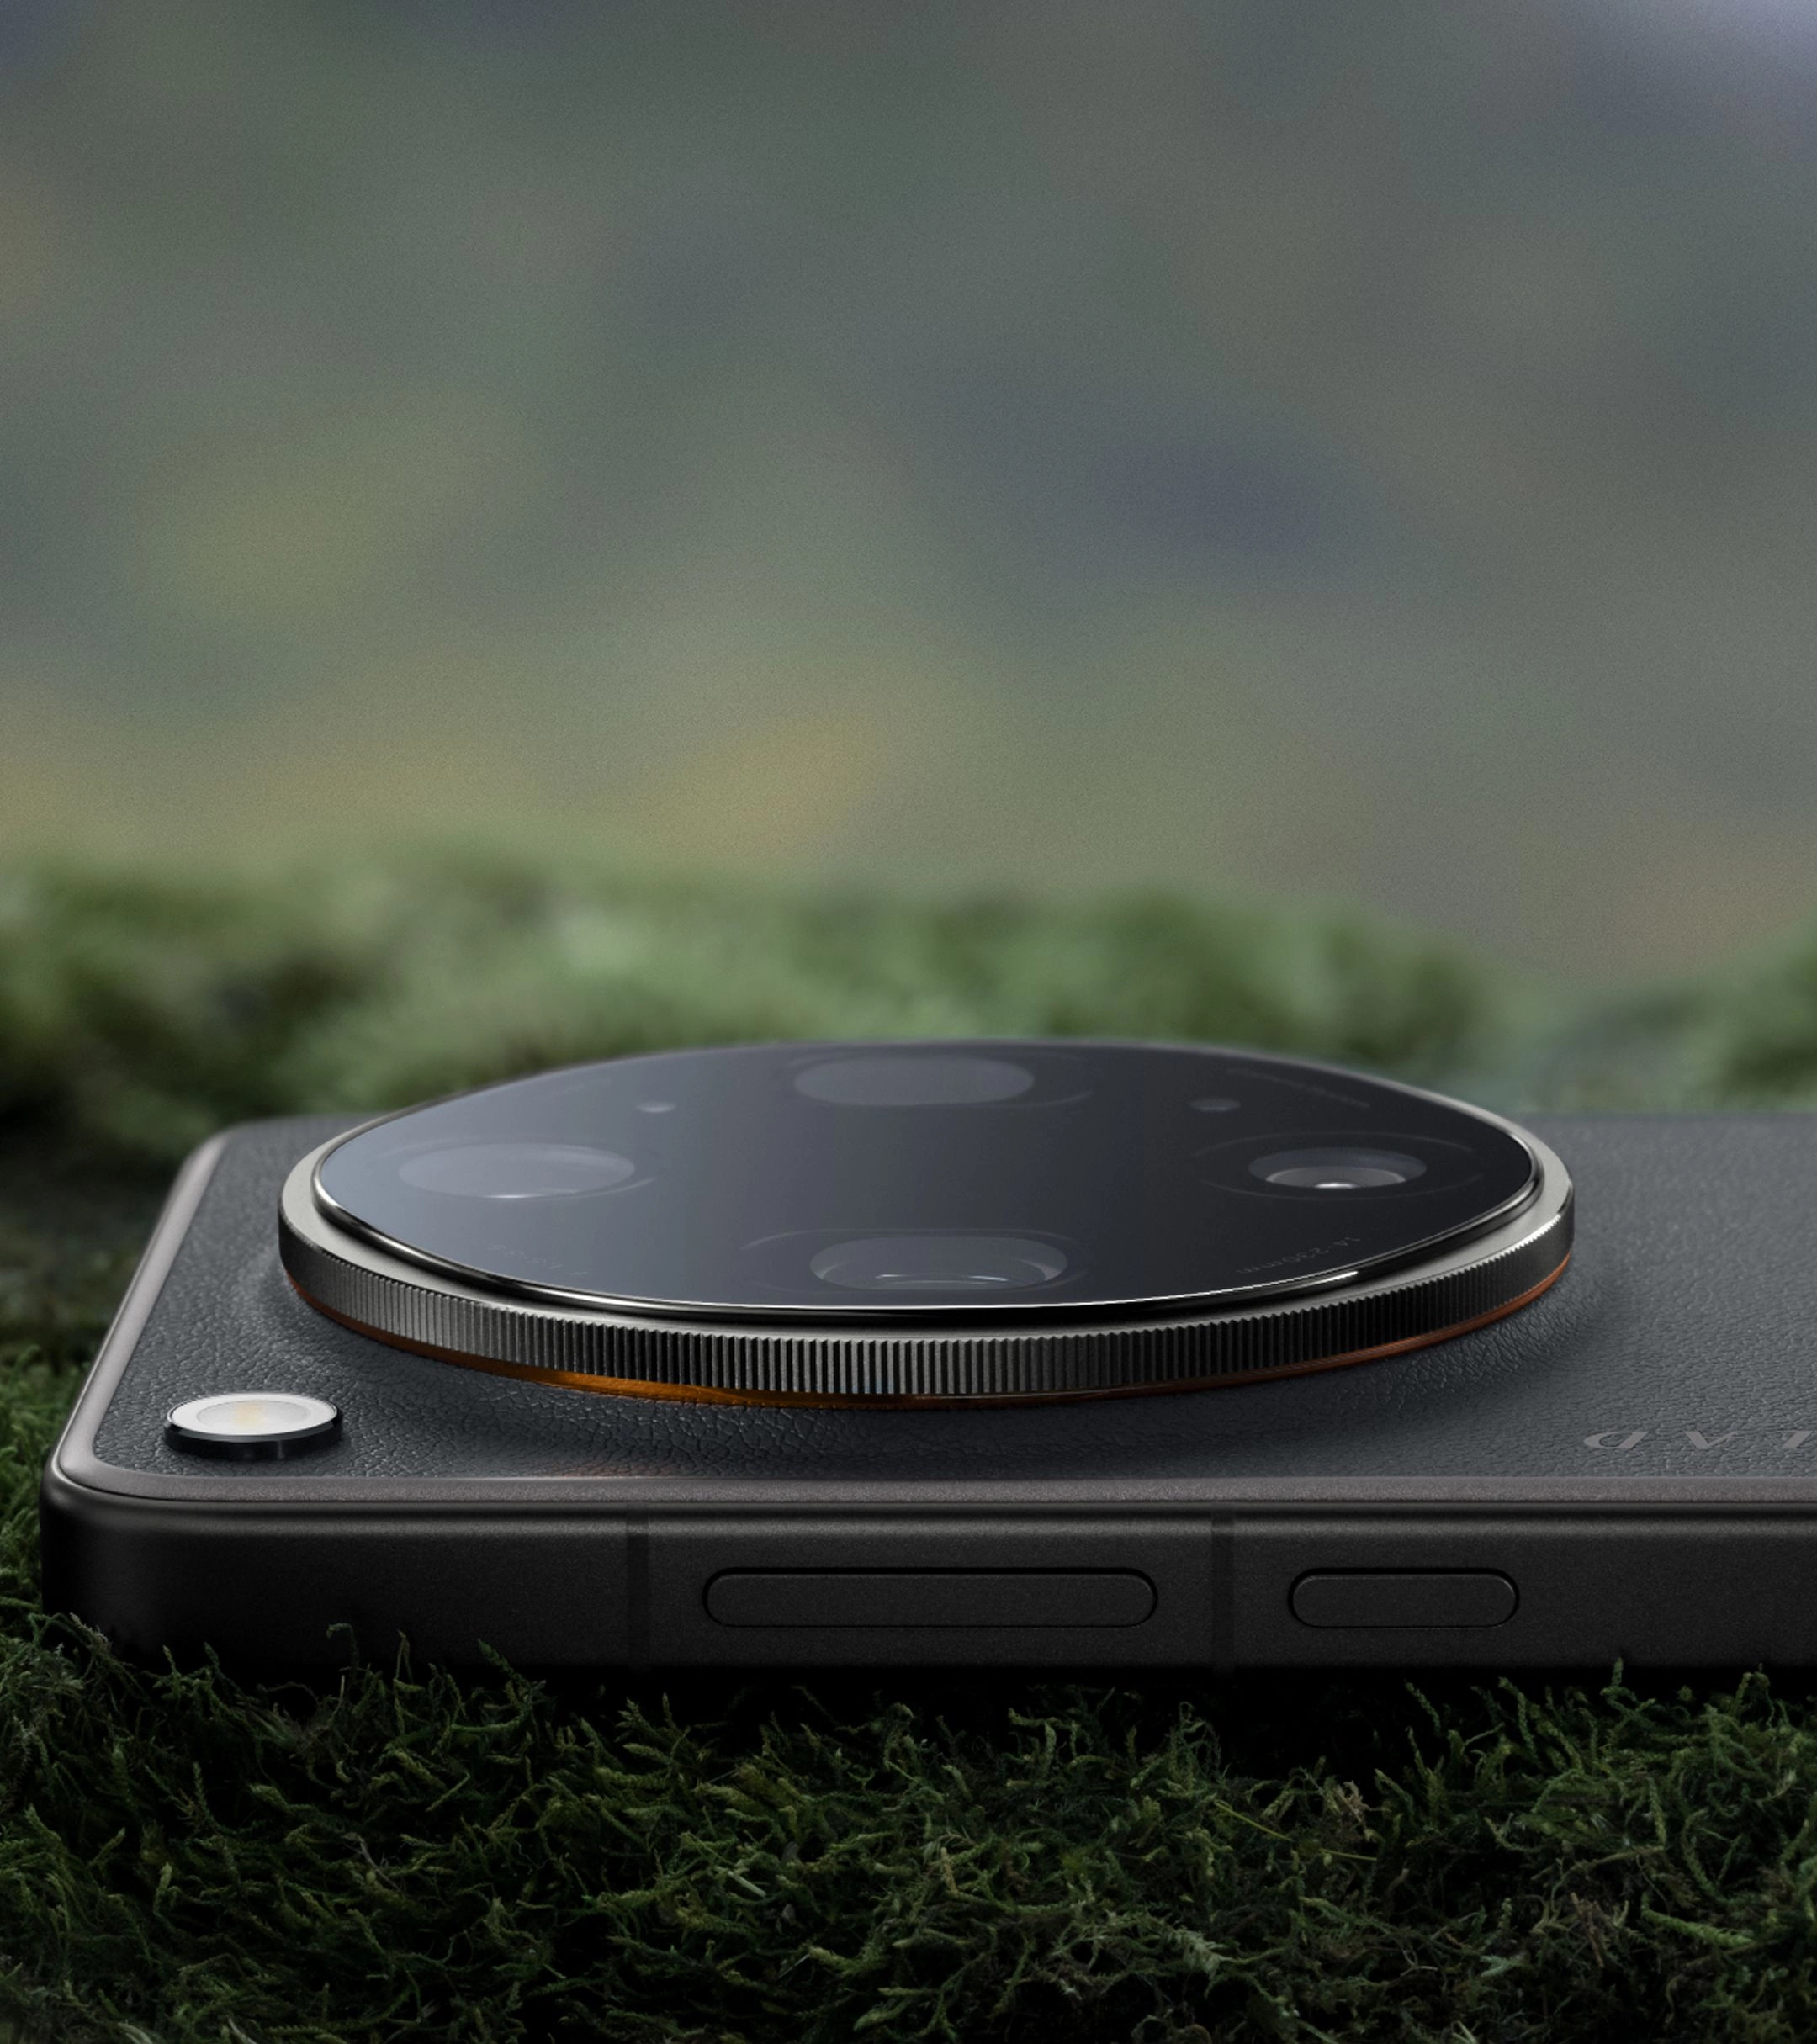
The quintuple prism reflection periscope structure engineered for maximum light intake.
Step 4: Lock Focus and Adjust Exposure
Tap and hold on your primary subject to engage the AF/AE lock. Once locked, slide the exposure icon down slightly to prevent the camera from overexposing highlights, which can make details look soft and washed out.
✅ Success looks like: A yellow or green lock indicator on your subject, with balanced highlights and deep, detailed shadows.
⚠️ Common mistake to avoid: Relying solely on continuous autofocus, which may shift to the background if a subject moves slightly.
Step 5: Utilize Manual Controls in Master Mode
Switch to a dedicated Hasselblad Master Mode to manually control your shutter speed and ISO. Set a fast shutter speed (at least 1/250s for static subjects, or 1/1000s for moving subjects) and keep the ISO as low as possible to prevent digital noise.
✅ Success looks like: A clean, noise-free image with sharp edges, captured in RAW format for maximum editing flexibility.
⚠️ Common mistake to avoid: Letting the camera auto-select a slow shutter speed in low light, resulting in motion blur.
Validation Checklist (Make Sure It Worked)
- ☐ The image edges are clean and sharp when zooming in to 100% magnification.
- ☐ Fine textures, such as leaves, brickwork, or fabric, are clearly distinguishable without digital smudging.
- ☐ There is no visible motion blur or ghosting around the borders of your subject.
- ☐ Highlights are not blown out, and shadow areas retain subtle details without excessive noise.
- ☐ The color transition across the frame is smooth and natural, matching the scene's actual atmosphere.
- ☐ The focus remains locked precisely on the intended subject rather than shifting to the foreground or background.
- ☐ The image metadata confirms the use of the native optical telephoto lens rather than a digital crop.
Common Issues & Fixes
| Problem | Cause | Fix |
|---|---|---|
| Soft or hazy images | Smudged lens or condensation | Wipe the lens with a clean microfiber cloth and let any condensation evaporate. |
| Grainy textures | High ISO setting in low light | Lower the ISO manually and use a tripod to allow for a slower shutter speed. |
| Double images or blur | Camera shake during exposure | Stabilize the phone against a solid object or use a remote shutter timer. |
| Missed focus | Autofocus tracking the wrong subject | Tap and hold to lock focus manually on your exact subject before shooting. |
| Washed-out colors | Lens flare from direct light sources | Shield the top of the phone with your hand to block stray light from hitting the lens. |
Best Practices (Do It Right Long-Term)
- Shoot in RAW MAX format whenever possible — this preserves the uncompressed sensor data, allowing you to recover fine details and adjust sharpness during post-processing.
- Understand your device's physical limits — knowing how camera sensor sizes impact light gathering helps you plan your shoots around optimal daylight hours.
- Keep your device's software updated — manufacturers frequently release camera tuning updates that improve autofocus speed and image processing algorithms.
- Use a physical shutter release — pressing the volume button or using a Bluetooth remote prevents the physical tap on the screen from shaking the camera.
- Study the sweet spot of your lenses — mastering smartphone telephoto cameras helps you identify which zoom factors yield the cleanest optical results.
- Leverage advanced image engines — utilizing a dedicated LUMO Image Engine ensures consistent color and texture rendering across all zoom ranges.
- Plan your compositions carefully — leveraging an eight-focal-length system gives you the flexibility to frame subjects perfectly from any distance.
Recommended Tool: OPPO Find X9 Ultra
The OPPO Find X9 Ultra is a premier creative tool designed for photographers who demand uncompromising image quality. It features a state-of-the-art Hasselblad Master Camera System that makes capturing sharp, professional-grade photos effortless.
- Hasselblad 50MP 10× Ultra-Sensing Optical-Zoom Telephoto: Features a 230mm focal length, ƒ/3.5 DSLR-grade aperture, and a 1/2.75" large sensor to deliver incredible clarity at long range.
- Triple Ultra-Precision Active Optical Alignment & Sensor Shift: Advanced stabilization technologies work together to eliminate micro-shakes, ensuring your handheld shots remain tack-sharp.
- New-Generation Hasselblad Master Mode: Gives you complete manual control over ISO, shutter speed, focus, and white balance, with support for RAW MAX and ProXDR formats.
- Hasselblad 200MP 3× Super Portrait Telephoto: Offers a 70mm focal length with a 1/1.28" large sensor and ƒ/2.2 aperture, perfect for capturing lifelike depth and stunning portraits.
When to use it: Use the OPPO Find X9 Ultra when you want a pocket-sized, professional-grade camera system that delivers faithful colors and exceptional detail across eight precise focal lengths. Do not use it if you prefer a basic, point-and-shoot experience without manual creative controls.
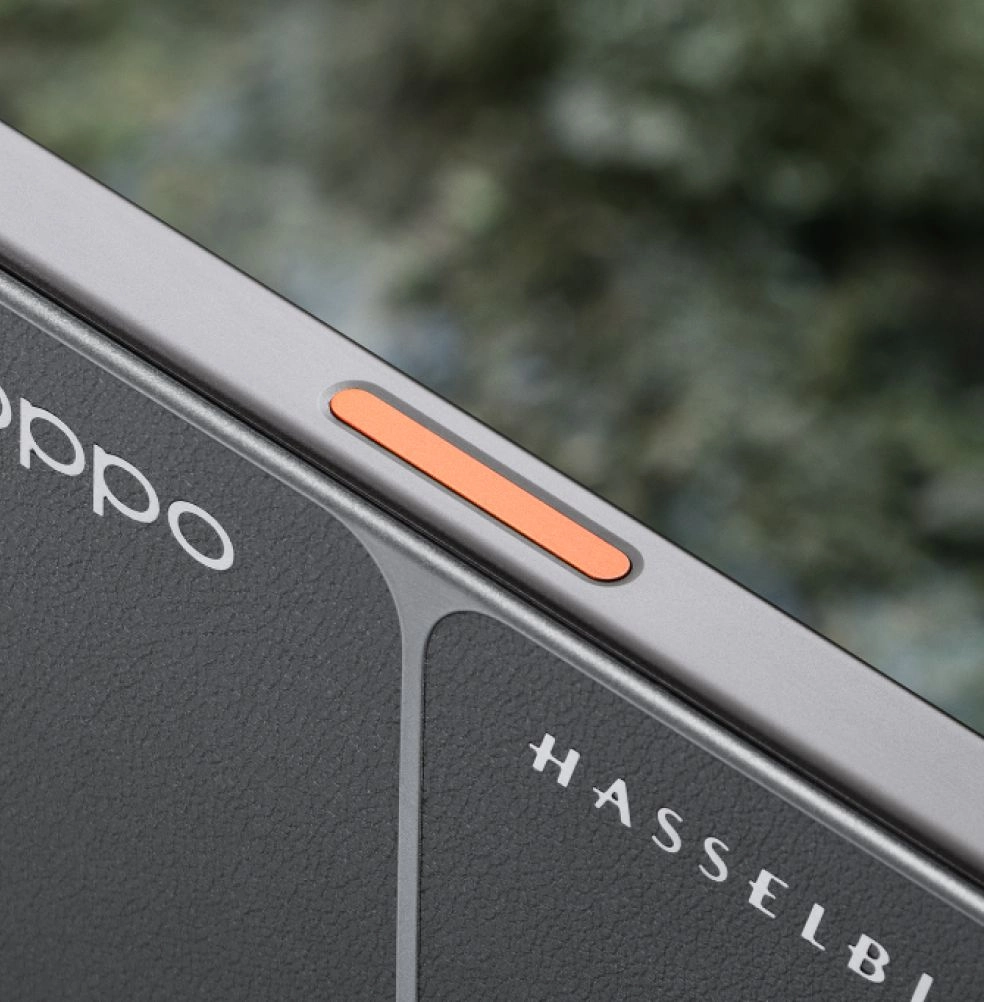
Built for the field: The rugged, Scandinavian-inspired design of the Find X9 Ultra.
FAQs
Q: How do you get sharp photos with a periscope telephoto lens?
A: To get sharp photos with a periscope telephoto lens, you must ensure maximum physical stability, select native optical zoom levels (such as 3× or 10×), and lock your focus manually. Using a premier device like the OPPO Find X9 Ultra, which features advanced Telephoto Sensor Shift and a quintuple prism reflection periscope structure, dramatically reduces motion blur and delivers best-in-class clarity even at extreme zoom ranges.
Q: What is the difference between optical zoom and digital zoom?
A: Optical zoom uses physical glass elements to adjust the focal length, preserving the full resolution of the sensor. Digital zoom simply crops and enlarges the center of the image, which degrades quality and introduces pixelation.
Q: Why do my telephoto photos look blurry in low light?
A: Telephoto lenses generally have smaller apertures and smaller sensors than main cameras, meaning they let in less light. In dark conditions, the camera automatically slows down the shutter speed to let in more light, which increases the risk of motion blur from hand movements.
Q: What is the benefit of a 10× optical-zoom telephoto camera?
A: A 10× optical-zoom telephoto camera, like the 230mm lens on the OPPO Find X9 Ultra, allows you to capture distant subjects with true optical clarity, preserving fine textures and natural colors without the quality loss associated with digital cropping.
Q: How does the LUMO Image Engine improve telephoto sharpness?
A: The LUMO Image Engine processes image data across multiple focal lengths, optimizing texture retention and maintaining consistent tonality so that your zoomed-in shots look as clean and cohesive as those taken with the main sensor.
Achieving maximum sharpness with a periscope telephoto lens requires a combination of proper technique, physical stability, and high-performing hardware. By mastering manual controls and understanding your camera's optical sweet spots, you can capture breathtaking, professional-grade images from any distance.