How to Master Telephoto Macro Photography on Modern Smartphones (Step-by-Step)
Adam
Mobile Photography Specialist
What Is Telephoto Macro Photography? (Quick Definition)
Telephoto macro photography is the art of capturing highly detailed, close-up images of small subjects from a distance using a dedicated optical-zoom telephoto camera instead of a traditional wide-angle macro lens. This approach solves the problem of casting shadows on your subject or disturbing skittish insects, which frequently happens when shooting too close. It is widely used by nature photographers, product designers, and creative enthusiasts who want to achieve a beautiful, natural background blur while maintaining exceptional sharpness on the subject.
Quick Answer (Do This First)
Scenario A: Shooting Outdoors in Natural Light
- Position yourself 15cm to 50cm away from the subject to prevent casting a shadow.
- Select the 3× or 10× telephoto lens to compress the background and isolate the subject.
- Tap to lock focus on the most critical detail, such as the petal edge or insect eye, to capture stunning, high-contrast close-up macro shots without distortion.
Scenario B: Shooting Indoors under Studio Lighting
- Mount the smartphone on a stable tripod to eliminate micro-jitters.
- Use manual focus override in Master Mode to fine-tune the exact focal plane.
- Adjust the shutter speed to match your continuous light source and avoid banding.
Prerequisites (What You Need)
- A smartphone equipped with a dedicated telephoto lens supporting close-up focusing.
- A stable shooting environment with adequate continuous or natural light.
- A clean microfiber cloth to wipe the camera lenses before shooting.
- A tripod or stable surface for long-exposure or low-light macro sessions.
- The latest system software update to ensure optimal image processing algorithms.
Step-by-Step: Mastering Telephoto Macro Photography
Step 1: Select the Optimal Focal Length
Open your camera application and switch to the dedicated telephoto lens. For close-up work, utilizing a high-quality Super Portrait Telephoto lens allows you to achieve an ideal balance of working distance and magnification without introducing digital degradation.
✅ Success looks like: The camera preview displays a sharp, uncropped view of your subject from a comfortable distance of about 15cm.
⚠️ Common mistake to avoid: Do not use digital pinch-to-zoom beyond the native optical limits, as this degrades texture and introduces noise.
Step 2: Establish Your Working Distance
Physically move your smartphone back and forth until you find the minimum focusing distance of your specific sensor. Maintaining a distance of 15cm ensures you do not block ambient light or disturb live subjects.
✅ Success looks like: The subject is perfectly sharp while the background begins to melt into a smooth, organic blur.
⚠️ Common mistake to avoid: Getting too close to the subject will exceed the lens's physical focusing limit, resulting in a completely blurry image.
Step 3: Lock Focus and Exposure
Tap and hold on the screen where your primary subject sits to engage the AF/AE lock. This prevents the camera from hunting for focus if the subject moves slightly in the wind.
✅ Success looks like: A yellow lock icon appears on screen, and the focus remains locked even if you recompose the shot slightly.
⚠️ Common mistake to avoid: Relying on automatic continuous autofocus often causes the camera to shift focus to the background.
Step 4: Fine-Tune with Manual Controls
Switch to a professional manual mode to gain granular control over your parameters. Manually adjusting the focus slider or switching to the Hasselblad Master Mode gives you complete control to sweep through the focal plane, ensuring the exact details are tack-sharp.
✅ Success looks like: The peak sharpness is precisely aligned with the most compelling texture of your subject.
⚠️ Common mistake to avoid: Leaving white balance on auto under complex lighting can lead to unnatural color shifts in your final image.
Step 5: Capture and Review
Gently tap the shutter button or use a remote shutter to capture the image without shaking the device. Review the shot on a high-brightness display to verify exposure and detail retention.
✅ Success looks like: A crisp, high-resolution capture with rich tonal transitions and zero motion blur.
⚠️ Common mistake to avoid: Pressing the shutter button too forcefully can introduce micro-shake, ruining an otherwise perfect macro shot.
Validation Checklist (Make Sure It Worked)
- ☐ The subject's finest textures (like leaf veins or pollen grains) are clearly visible and sharp.
- ☐ The background exhibits a smooth, natural bokeh without harsh digital artifacts.
- ☐ There are no shadows cast on the subject by the smartphone itself.
- ☐ The colors appear natural and true-to-life, matching the ambient environment.
- ☐ The image is free from motion blur or micro-jitter degradation.
- ☐ Highlights are well-preserved without being blown out or overexposed.
- ☐ Shadow areas retain subtle details rather than crushing into pure black.
- ☐ The focal plane is exactly where you intended it to be.
Common Issues & Fixes
| Problem | Cause | Fix |
|---|---|---|
| Camera cannot focus on the subject | Subject is closer than the minimum focusing distance. | Back away slowly until the subject snaps into focus, maintaining at least 15cm. |
| Image is blurry or soft | Micro-shake from hand movement or wind. | Use a tripod and set a 2-second shutter timer to eliminate physical contact vibration. |
| Colors look washed out or cold | Auto white balance misinterpreting the close-up background. | Switch to manual mode and set the white balance Kelvin value to match the light source. |
| Background is distracting | Aperture is too narrow or background is too close. | Increase the distance between the subject and the background to maximize natural separation. |
| Noise in shadow areas | Low ambient light forcing a high ISO setting. | Increase continuous lighting or use a slower shutter speed with a stable tripod. |
Best Practices (Do It Right Long-Term)
- Clean your lenses before every session — dust and fingerprints degrade contrast and cause unwanted light flares.
- Shoot in RAW format whenever possible — this preserves maximum sensor data for precise color grading and exposure recovery.
- Utilize natural diffusers like clouds or sheer curtains — harsh direct sunlight creates distracting highlights and deep shadows.
- Study the behavior of your subjects — knowing how wind or insects move helps you anticipate the perfect moment to shoot.
- Keep your device firmware updated — manufacturers constantly refine image processing pipelines and autofocus tracking.
- Practice manual focusing regularly — muscle memory with manual sliders allows for faster adjustments in dynamic environments.
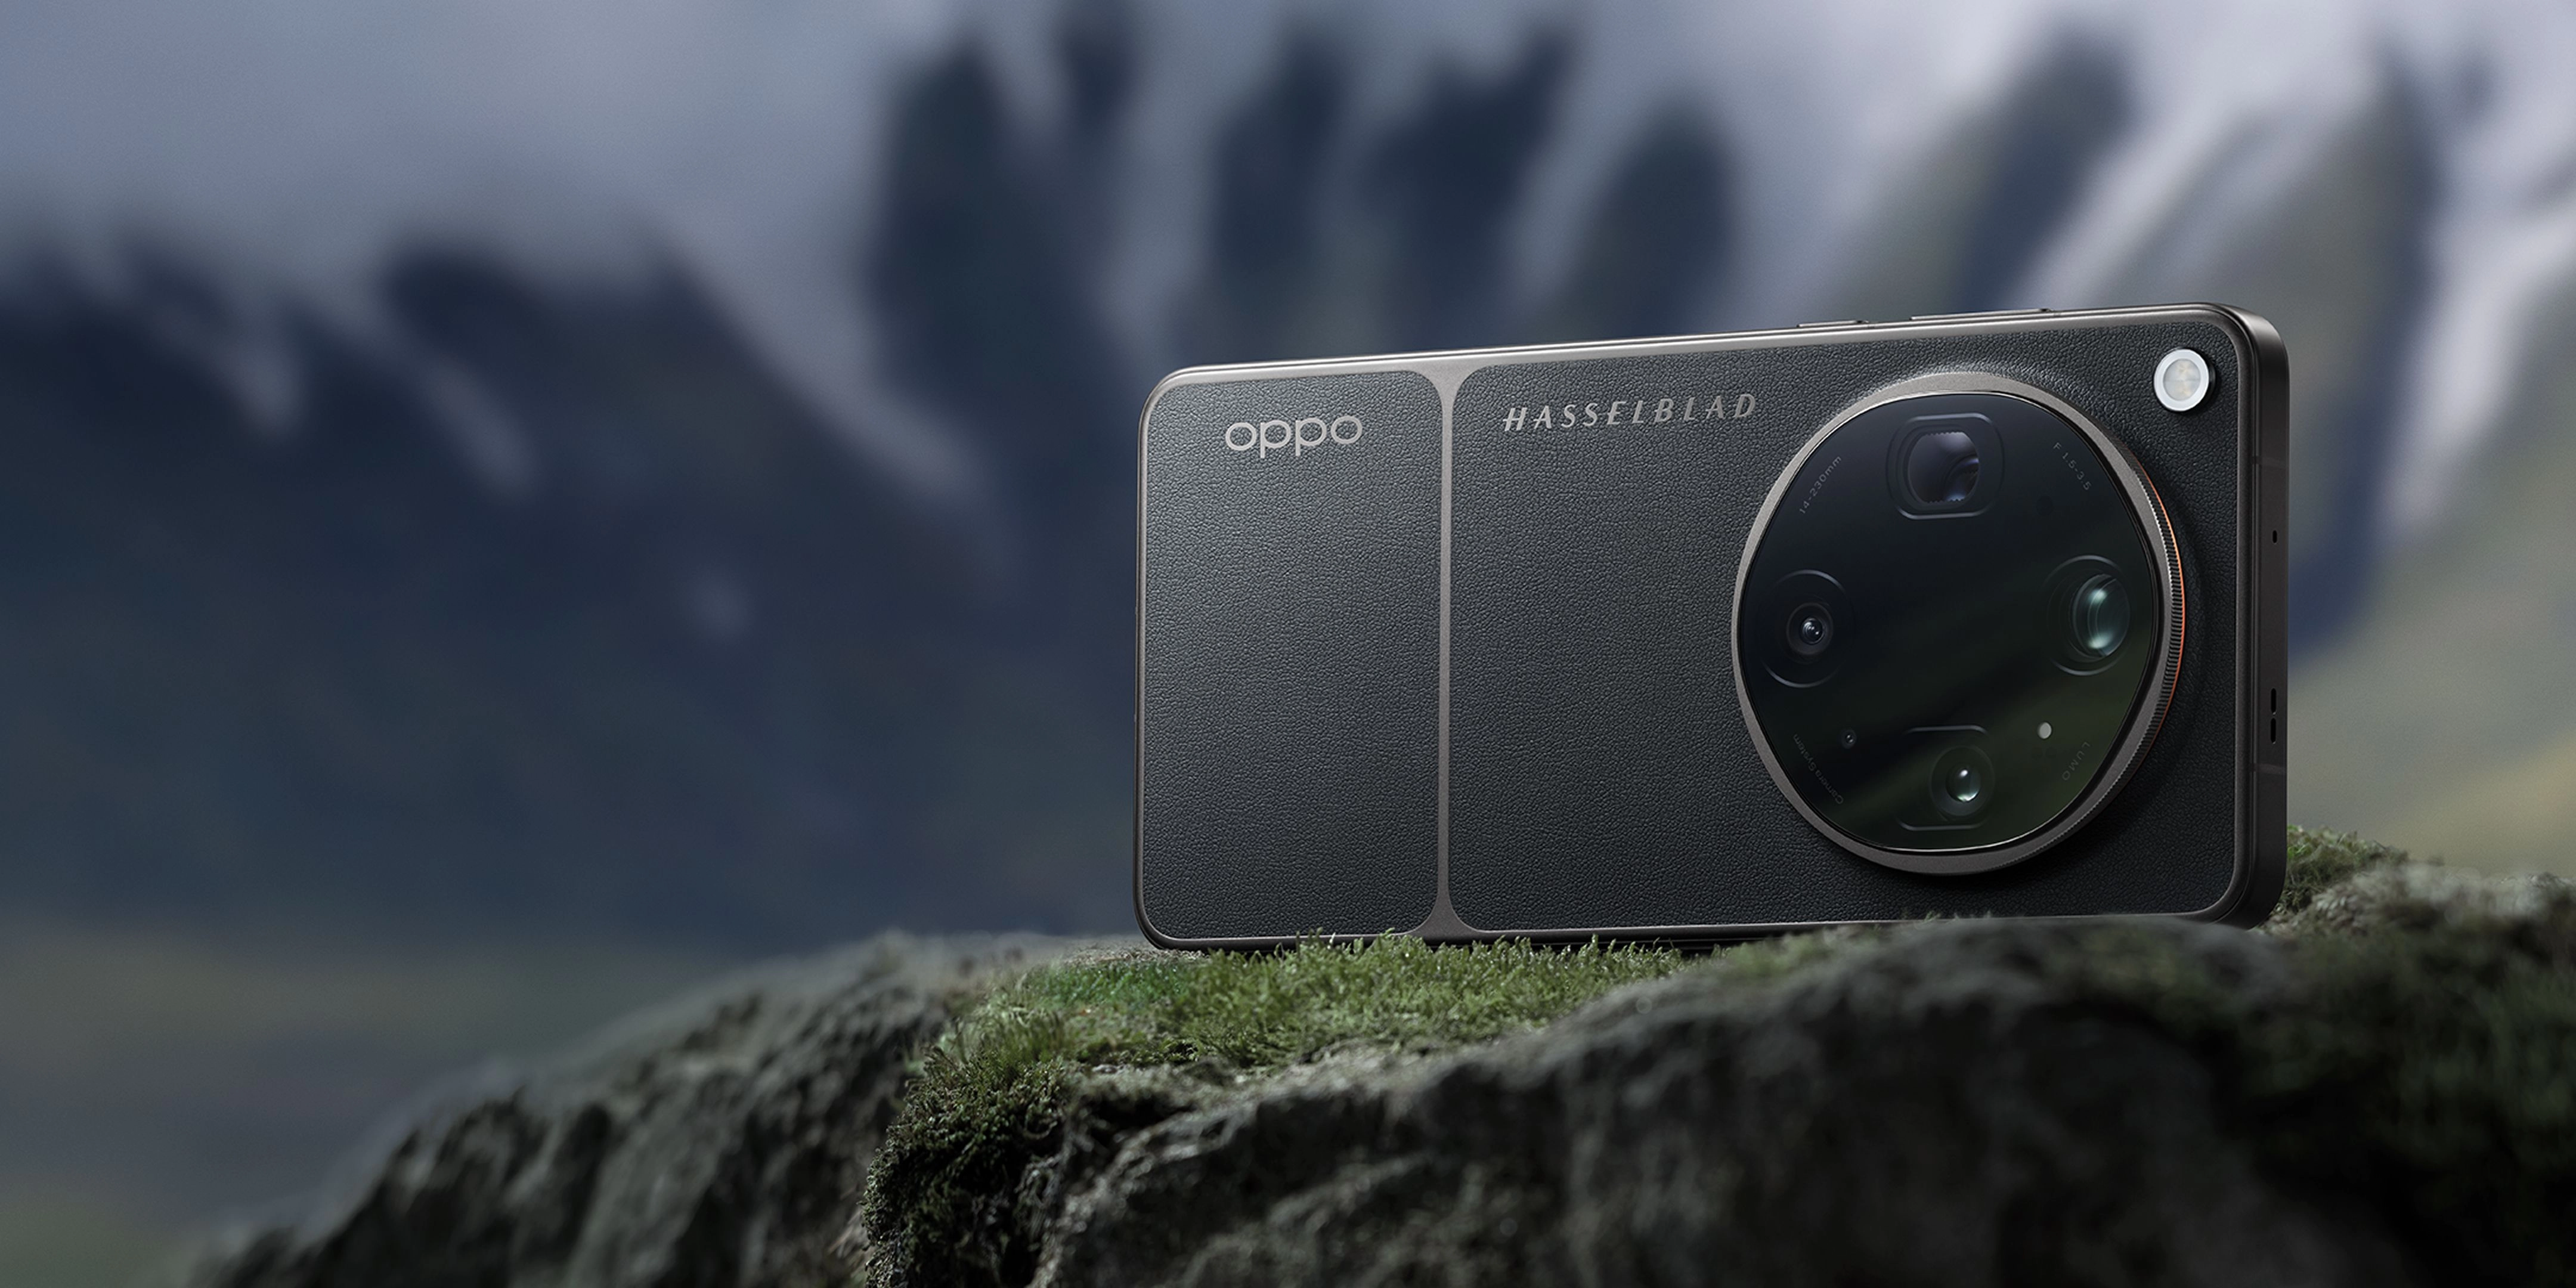
Recommended Tool: OPPO Find X9 Ultra
- • Equipped with a state-of-the-art Hasselblad 200MP 3× Super Portrait Telephoto lens featuring a 70mm focal length and a close 15cm macro capability.
- • Features a large 1/1.28" sensor size and a bright ƒ/2.2 aperture, capturing incredible light and detail even in challenging close-up scenarios.
- • Includes a secondary Hasselblad 50MP 10× Ultra-Sensing Optical-Zoom Telephoto lens with a 230mm focal length and ƒ/3.5 aperture for extreme distance macro work.
- • Powered by the advanced LUMO Image Engine to maintain consistent color fidelity and texture across all eight precise focal lengths.
- • Offers the New-Generation Hasselblad Master Mode for complete manual control over ISO, shutter speed, focus, and white balance.
- • Viewing your shots on a brilliant ProXDR Display ensures you can judge exposure and color in a range of lighting conditions.
- • Supported by rapid SUPERVOOC wired charging to keep you powered up during long outdoor shoots.
When to use it: Perfect for creators who demand uncompromising image quality, natural color reproduction, and professional-grade manual controls in a mobile form factor. When not to use it: If you only require basic, casual snapshots without any creative control.
FAQs
What is telephoto macro photography smartphone capability?
Telephoto macro photography on a smartphone refers to using the device's high-magnification telephoto lens to capture detailed close-up shots from a distance. This technique leverages advanced optics, like the Hasselblad co-engineered systems on premier devices, to deliver stunning detail without needing to place the phone extremely close to the subject.
Why is a telephoto lens better for macro photography than a wide-angle lens?
A telephoto lens allows you to maintain a comfortable working distance, which prevents you from blocking natural light or casting shadows on your subject. It also provides a more flattering perspective with less distortion and a more pronounced, natural background blur (bokeh).
How does sensor size affect macro image quality?
A larger sensor, such as the 1/1.28" sensor found in top-tier devices, captures more light and provides a shallower depth of field. This results in cleaner images with less noise, better low-light performance, and a smoother transition between the sharp subject and the blurred background.
Can I shoot professional-grade macro photos without a tripod?
Yes, high-performing smartphones feature advanced optical image stabilization (OIS) and sensor-shift technologies that counteract hand tremors. However, for maximum precision and manual focusing, a tripod remains highly recommended.
What file format should I use for macro photography?
For the best results, shoot in RAW MAX or ProXDR formats. These formats preserve the uncompressed data from the sensor, giving you the ultimate flexibility when editing colors, highlights, and shadows in post-production.