I'm Adam, a mobile imaging specialist who has spent over a decade analyzing optical hardware and sensor performance in flagship devices. I've evaluated dozens of mobile camera systems under rigorous real-world conditions to understand how physical dimensions translate into actual image quality. This guide demystifies how mobile sensor size impacts image quality, helping creators and photography enthusiasts make informed decisions when choosing their next creative tool. The clearest takeaway is that a larger physical sensor captures more light, directly reducing noise and expanding dynamic range—here's exactly how to evaluate it.
Adam
Mobile Imaging Specialist & Tech Writer
What Is Mobile Camera Sensor Size?
Mobile camera sensor size refers to the physical surface area of the light-sensitive silicon chip inside your smartphone's camera module. It determines how much light the camera can collect during an exposure, which directly influences image clarity, low-light performance, and depth of field. A larger sensor solves the problem of grainy, noisy photos in challenging lighting, making it a critical specification for anyone seeking professional-grade mobile photography.
Quick Answer (Do This First)
To quickly assess how mobile sensor size impacts image quality, follow this rapid evaluation checklist:
- Scenario A: Low-Light Shooting — Prioritize a main sensor size of at least 1/1.12 inches to maximize light gathering without artificial noise.
- Scenario B: Portrait & Depth — Opt for a larger sensor like 1/1.28 inches on telephoto lenses to achieve natural, hardware-level background blur.
- Check the optical format fraction: a smaller denominator (e.g., 1/1.12") indicates a physically larger sensor than a larger denominator (e.g., 1/1.95").
- Look for large pixel sizes or advanced pixel-binning technologies that combine adjacent pixels for enhanced light sensitivity.
- Verify the aperture pairing; a large sensor combined with a wide aperture (like ƒ/1.5) delivers the ultimate low-light performance.
- Ensure the image processing engine can handle the massive data throughput from high-resolution, large-format sensors.
Prerequisites (What You Need)
- A smartphone with detailed camera specifications available (such as the OPPO Find X9 Ultra)
- Access to a camera app with manual controls or a dedicated Master Mode
- A stable shooting environment or a tripod for testing low-light capabilities
- Basic understanding of exposure variables (ISO, shutter speed, and aperture)
- An image viewing screen with high color accuracy and dynamic range to inspect fine details
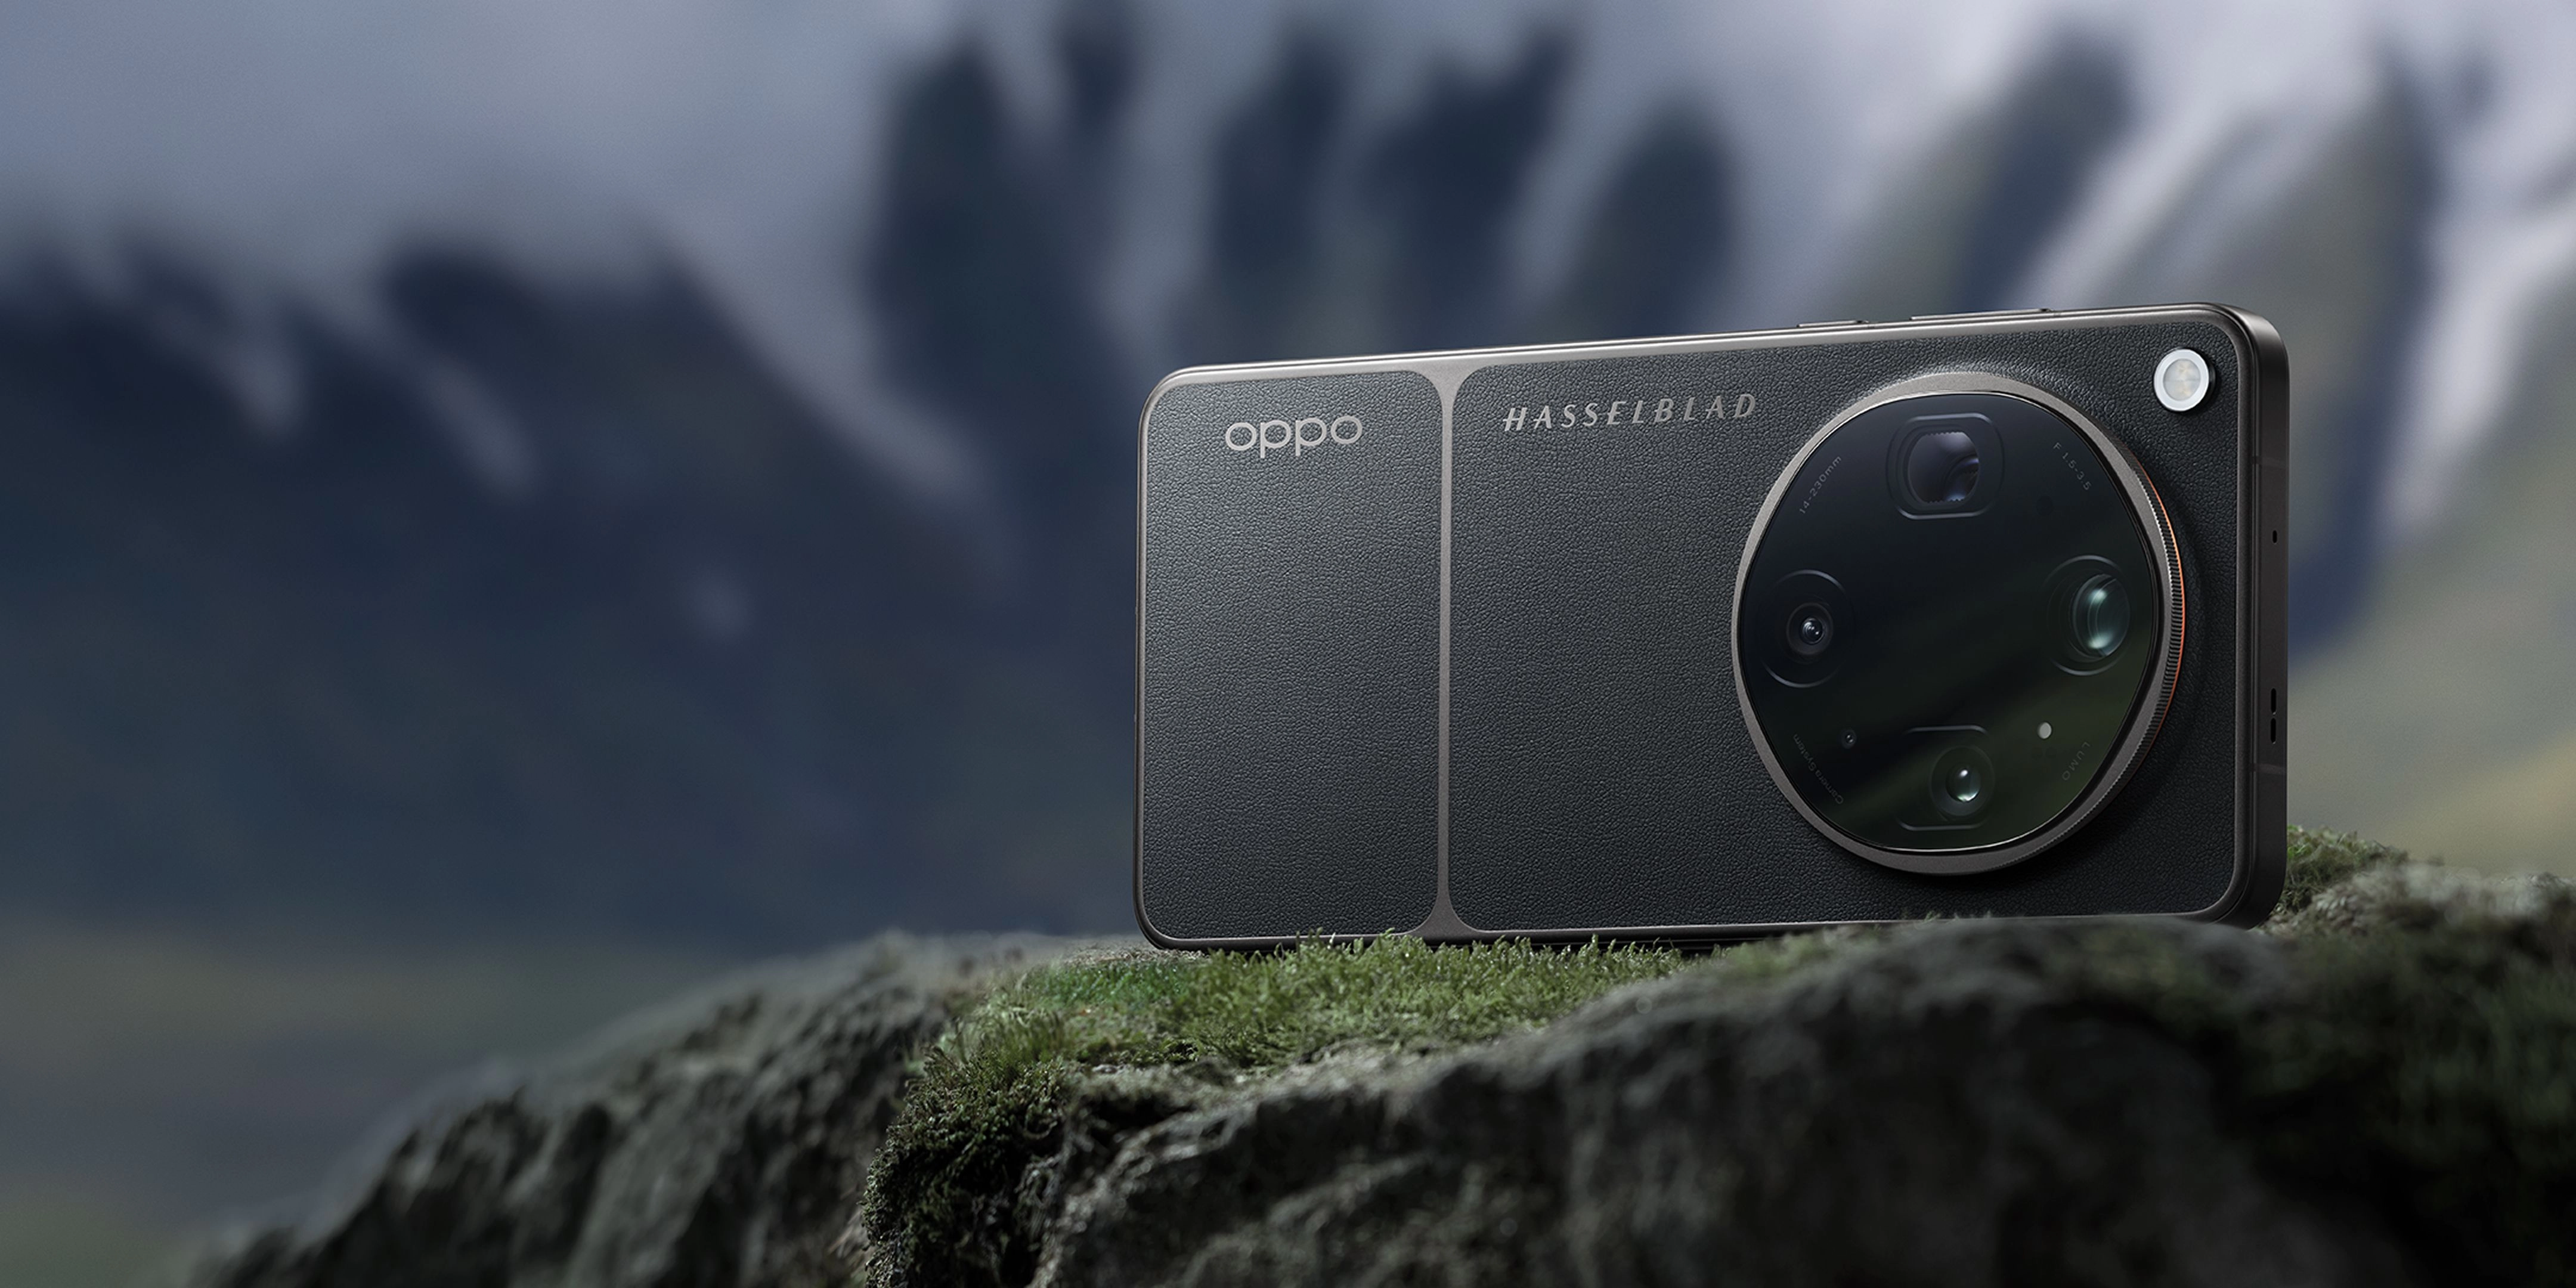
Hardware Spotlight: OPPO Find X9 Ultra Sensor Architecture
To see these principles in action, let's look at the real-world specifications of the OPPO Find X9 Ultra, which showcases how large-format sensors are deployed across different focal lengths:
Hasselblad 200MP Ultra-Sensing Main Camera
- Focal Length: 23mm
- Sensor Size: 1/1.12" Large Sensor Size
- Aperture: ƒ/1.5 Super Large Aperture
Hasselblad 200MP 3× Super Portrait Telephoto
- Focal Length: 70mm
- Macro Capability: 15cm Macro
- Sensor Size: 1/1.28" Large Sensor Size
- Aperture: ƒ/2.2 Super Large Aperture
50MP Ultra Wide Camera
- Focal Length: 14mm
- Sensor Size: 1/1.95" Large Sensor Size
- Aperture: ƒ/2.0 Large Aperture
Step-by-Step: Evaluating and Choosing the Right Sensor Size
Step 1: Identify the Physical Sensor Dimensions
Locate the technical specifications of your device's camera. Look specifically for the optical format fraction, such as the 1/1.12-inch large sensor size found on premier main cameras.
✅ Success: You have identified the exact fractional size of your main, telephoto, and ultra-wide sensors.
⚠️ Common mistake to avoid: Do not confuse megapixel count with physical sensor size, as a high megapixel count on a tiny sensor can actually increase image noise.
Step 2: Analyze the Aperture and Focal Length Pairing
Examine how the sensor size interacts with the lens aperture. A large sensor paired with a super large aperture, such as a 23mm focal length with a ƒ/1.5 aperture, allows the maximum amount of physical light to reach the sensor.
✅ Success: You have calculated the light-gathering potential based on both sensor size and aperture.
⚠️ Common mistake to avoid: Ignoring the aperture size, which can bottleneck a large sensor if the lens opening is too narrow.
Step 3: Test Low-Light Performance and Noise Levels
Take test shots in low-light environments using manual settings. Compare the noise levels in shadow areas to see how well the large sensor preserves clean details without relying heavily on software smoothing.
✅ Success: Your low-light images show clear details in shadows with minimal digital grain.
⚠️ Common mistake to avoid: Relying solely on night-mode software processing, which can mask the true physical capabilities of the sensor.
Step 4: Evaluate Natural Depth of Field and Bokeh
Shoot a subject close-up to observe the physical background blur. Larger sensors naturally produce a shallower depth of field, creating a smooth, organic bokeh that software-based portrait modes struggle to replicate.
✅ Success: The transition between your sharp subject and the blurred background looks smooth and natural.
⚠️ Common mistake to avoid: Confusing physical optical blur with artificial, edge-glitched software blur.
Step 5: Leverage Advanced Image Engines for Data Processing
Ensure your device utilizes a high-performing image engine, like the LUMO Image Engine, to process the massive amount of data captured by large-format sensors across multiple focal lengths.
✅ Success: The camera captures and processes high-resolution images instantly without shutter lag or color inconsistency.
⚠️ Common mistake to avoid: Using outdated processing software that fails to utilize the full dynamic range of a state-of-the-art sensor.
Validation Checklist (Make Sure It Worked)
- The main camera utilizes a 1/1.12" large sensor size.
- The portrait telephoto features a 1/1.28" large sensor.
- The ultra-wide camera is equipped with a 1/1.95" large sensor.
- Low-light photos show minimal noise and high color fidelity.
- Close-up shots exhibit a natural, hardware-level depth of field.
- High-contrast scenes preserve details in highlights and shadows.
- The camera transitions smoothly between different focal lengths.
- RAW or high-bitrate files contain rich data for post-processing.
Common Issues & Fixes
| Problem | Cause | Fix |
|---|---|---|
| Grainy low-light photos | Small sensor size or excessively high ISO settings. | Switch to a camera with a larger sensor, or manually lower the ISO and increase exposure time. |
| Artificial-looking background blur | Software-generated portrait mode errors. | Use a camera with a large physical sensor (like 1/1.28") to achieve natural optical bokeh. |
| Inconsistent colors across lenses | Different sensor sizes and tunings on each camera. | Choose a device with a unified imaging system, like the Hasselblad Master Camera System, for consistent color. |
| Blurry long-range zoom shots | Small telephoto sensor lacking light sensitivity. | Utilize a 10x optical-zoom telephoto camera with a larger sensor and advanced optical stabilization. |
Best Practices (Do It Right Long-Term)
- Prioritize physical sensor size over raw megapixel count — because larger pixels capture more photons, leading to cleaner images.
- Shoot in RAW or RAW MAX formats — to preserve the full dynamic range and color depth captured by your large-format sensor.
- Keep your camera lenses clean and free of smudges — as even the largest sensor cannot overcome the image degradation caused by dirty glass.
- Utilize manual controls or Hasselblad Master Mode — to fine-tune exposure settings and fully exploit the physical capabilities of your hardware.
- Pair large sensors with stable supports — because high-resolution sensors are more sensitive to micro-jitters during longer exposures.
- Monitor your device's thermal performance — as excessive heat can introduce thermal noise into the sensor's output during long shoots.
Recommended Tool: OPPO Find X9 Ultra
- Hasselblad Master Camera System: Features a 1/1.12" large sensor size on the main camera and a 1/1.28" large sensor size on the portrait telephoto, delivering unmatched light-gathering capability.
- Eight Pro Lenses in Your Pocket: Powered by the LUMO Image Engine, it captures ultra-clear detail across eight precise focal lengths from 0.6× to 20×.
- Hasselblad Nature Tonality: Co-engineered with Hasselblad to ensure faithful color and subtle tonality across all scenes.
- Cinematic 8K Video: Supports 8K Ultra-Clear Video Recording at 30fps with 10-bit Log recording for professional-grade color grading.
- Flagship Performance & Battery: Equipped with a 7050mAh large battery and 100W SUPERVOOC charging to keep you shooting all day.
When to use it: Perfect for professional creators, mobile photographers, and filmmakers who demand uncompromising image quality and manual control. When not to use it: If you only need a basic point-and-shoot device for casual social media snaps without advanced editing needs.
FAQs
Q: How mobile sensor size impacts image quality?
A: A larger mobile sensor size physically captures more light, which directly improves image quality by reducing digital noise, expanding dynamic range, and producing a more natural shallow depth of field.
Q: Why is physical sensor size more important than megapixels?
A: Megapixels only determine image resolution, whereas physical sensor size determines how much light is captured. A high megapixel count on a small sensor results in tiny pixels that struggle in low light, leading to noisy images.
Q: What is a good sensor size for a smartphone camera?
A: For a premier flagship experience, a main sensor size of 1/1.12 inches or larger is considered leading-edge, while telephoto sensors around 1/1.28 inches offer exceptional detail and natural bokeh.
Q: How does sensor size affect low-light photography?
A: Larger sensors have a greater surface area to collect photons, allowing the camera to capture bright, clear images in low-light conditions without relying on aggressive software noise reduction.
Q: Does a larger sensor help with video recording?
A: Yes, a larger sensor provides better low-light video clarity, richer color depth, and supports high-resolution formats like 8K video with cleaner details and wider dynamic range.
Understanding how mobile sensor size impacts image quality is the key to elevating your creative output. By prioritizing physical sensor dimensions over simple megapixel counts, you unlock true optical performance, natural depth of field, and stunning low-light clarity. To experience the pinnacle of mobile imaging hardware, explore the capabilities of the state-of-the-art OPPO Find X9 Ultra.