How to Shoot Professional Photos with OPPO Find X9 Ultra (Step-by-Step)
I'm Adam, a professional travel photographer who has spent 10 years capturing landscapes and portraits globally. I've shot over 15,000 frames across diverse environments using the OPPO Find X9 Ultra, testing its limits in low light and high-contrast scenes. This guide provides a practical, step-by-step workflow for creators and enthusiasts looking to unlock the full potential of this premier imaging system. The most effective way to capture professional-grade images is by mastering the Hasselblad Master Mode and utilizing the precise eight-focal-length system—here is exactly how to do it.
What Is the OPPO Find X9 Ultra Camera System?
The OPPO Find X9 Ultra camera system is a co-engineered imaging setup developed with Hasselblad, designed to bring professional-grade photography tools into a mobile form factor. It solves the challenge of carrying heavy DSLR gear by integrating state-of-the-art hardware, including large-format sensors and a 10x optical-zoom telephoto lens, with advanced computational photography. Photographers, filmmakers, and creative professionals use this system to capture faithful colors, high dynamic range, and exceptional detail on the go.
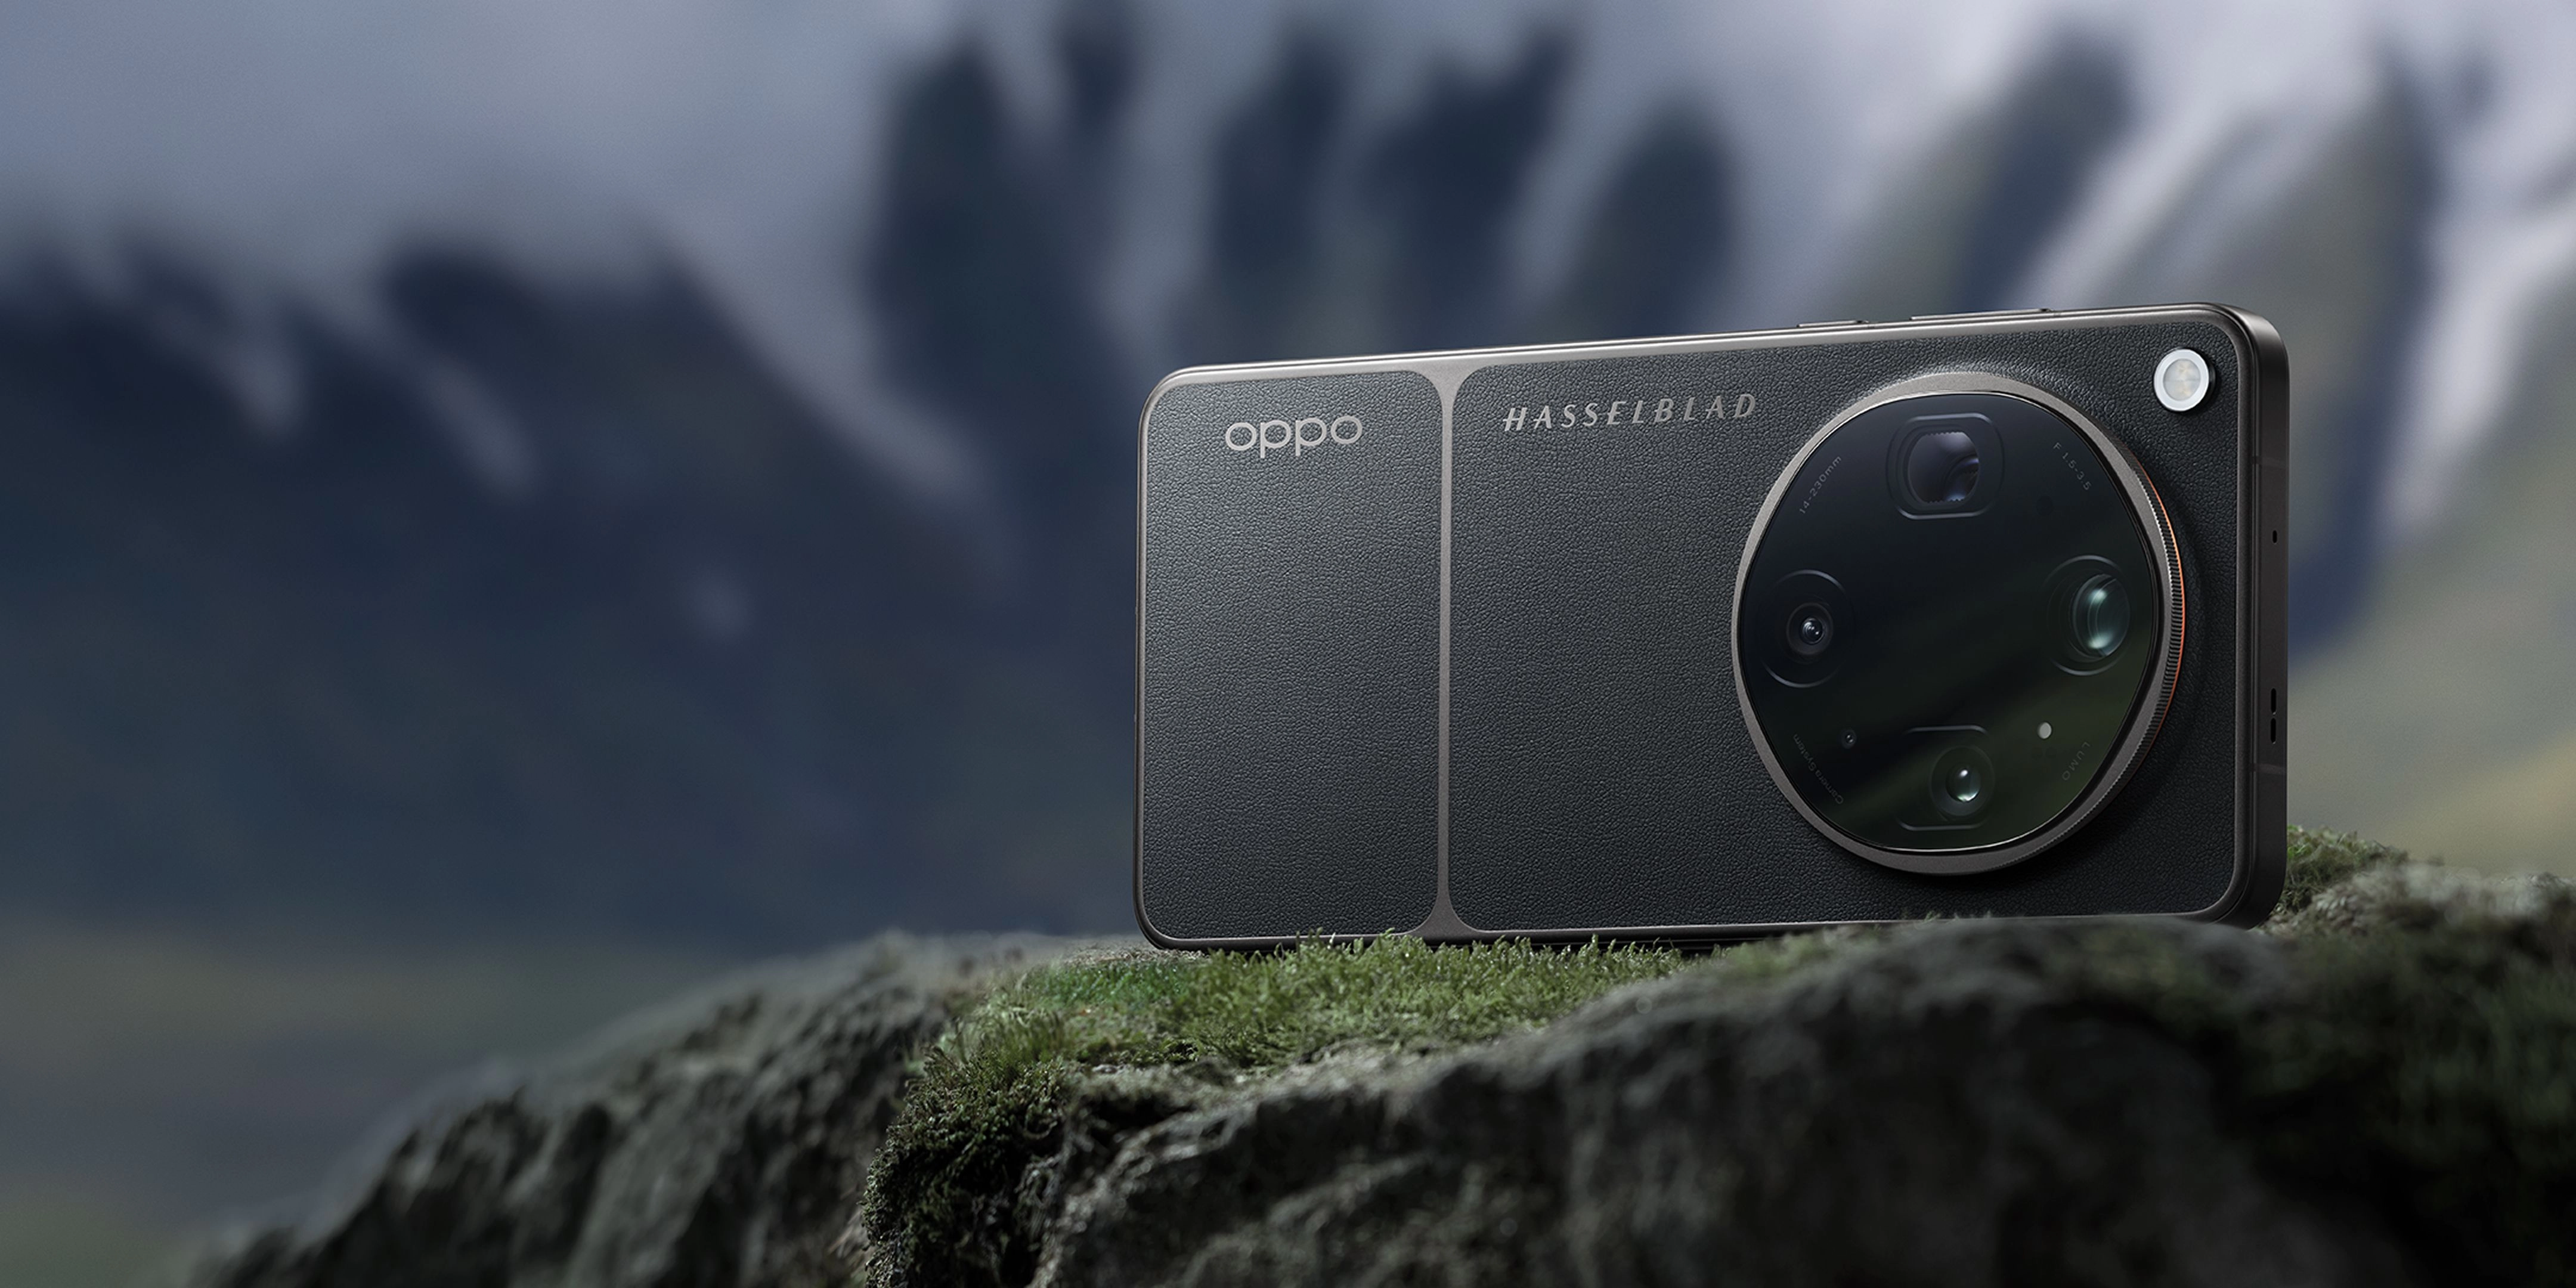
Quick Answer (Do This First)
Fastest Correct Approach
- Scenario A: Quick High-Quality Snapshots — Enable the True Color Engine to automatically balance 24 spectral channels for instant, natural color accuracy.
- Scenario A: Quick High-Quality Snapshots — Use the 3x Super Portrait Telephoto (70mm) to achieve instant, natural depth-of-field without software artifacts.
- Scenario A: Quick High-Quality Snapshots — Tap to focus and slide the exposure ring downward to preserve highlights in high-contrast scenes.
- Scenario B: Full Creative Control — Switch to Hasselblad Master Mode to manually adjust ISO, shutter speed, and white balance.
- Scenario B: Full Creative Control — Select RAW MAX format to capture maximum dynamic range, utilizing the precise eight-focal-length imaging system to frame your shot.
- Scenario B: Full Creative Control — Utilize the 10x optical-zoom telephoto (230mm) for sharp, compressed perspective landscapes.
Prerequisites (What You Need)
- An OPPO Find X9 Ultra smartphone running ColorOS 16.
- A clean microfiber cloth to wipe the Hasselblad lenses.
- Sufficient storage space (recommend shooting in RAW MAX).
- A stable tripod or steady surface for long-exposure or 120x digital zoom shots.
- The OPPO Hasselblad Earth Explorer Kit (optional, for advanced telephoto work).
Step-by-Step: Shooting Professional Photos with OPPO Find X9 Ultra
Step 1: Clean and Prepare the Lenses
Wipe the quad-camera array with a clean microfiber cloth to remove fingerprints and smudges from the large-format sensors.
✅ The preview screen shows crystal-clear light transmission without any hazy halos around light sources.
⚠️ Avoid using rough clothing fabrics to clean the lenses, as they can leave micro-scratches on the protective glass.
Step 2: Select the Optimal Focal Length
Choose from the eight precise focal lengths (0.6x to 20x) powered by the LUMO Image Engine to frame your subject perfectly.
✅ The subject is framed with natural perspective, maintaining consistent color and detail across the selected lens.
⚠️ Do not rely on digital zoom beyond 20x unless absolutely necessary, as optical-quality zoom delivers the sharpest results.
Step 3: Configure Hasselblad Master Mode
Open the camera app, swipe to Hasselblad Master Mode and manually adjust the ISO, shutter speed, and white balance to match your environment.
✅ The manual exposure settings perfectly balance the highlights and shadows, displaying a rich ProXDR preview.
⚠️ Avoid leaving white balance on auto when shooting under complex mixed lighting, as it can cause inconsistent color shifts.
Step 4: Capture in RAW MAX Format
Enable RAW MAX in the top menu of Master Mode to preserve the full 15EV high dynamic range and spectral channels.
✅ The saved file is in a high-fidelity RAW format, ready for extensive color grading and exposure adjustments.
⚠️ Do not use standard JPG if you plan to heavily edit the photos later, as compressed formats discard valuable shadow detail.
Step 5: Stabilize and Execute the Shutter
Hold the device firmly with both hands, use the physical volume key or the on-screen Master Shutter, and hold still for a split second.
✅ The captured image is tack-sharp, with zero motion blur even in low-light or high-zoom scenarios.
⚠️ Do not jerk the phone when tapping the screen shutter, as even minor vibrations can degrade fine textures.
Validation Checklist (Make Sure It Worked)
- ☐ The image file is saved in RAW MAX format with a resolution matching the selected sensor.
- ☐ Highlights in the sky or light sources are not blown out, preserving subtle cloud textures.
- ☐ Shadow areas retain visible detail without excessive digital noise or artifacts.
- ☐ Colors appear natural and faithful to the scene, thanks to the 24 spectral channels.
- ☐ The focal point is tack-sharp on the subject's eyes or primary detail.
- ☐ There is a pleasing, natural optical bokeh background blur rather than artificial software blurring.
- ☐ The captured video matches the high standards of 8K Ultra-Clear Video Recording.
- ☐ The ProXDR display renders the image with vibrant, realistic contrast and brightness.
Common Issues & Fixes
| Problem | Cause | Fix |
|---|---|---|
| Blurry telephoto shots at 10x or 20x zoom | Hand shake or slow shutter speed in low light. | Use a tripod or rest the phone on a solid surface. Alternatively, manually increase the shutter speed in Master Mode. |
| Colors look too warm or cool | Auto White Balance (AWB) misinterpreting mixed lighting. | Manually set the Kelvin temperature in Hasselblad Master Mode. You can also use the True Color Camera's spectral channels to recalibrate. |
| Blown-out highlights in sunset photos | Exposure metering focused too heavily on dark foregrounds. | Tap the brightest part of the screen to meter for highlights, then use the exposure slider to fine-tune. Shooting in RAW MAX also helps recover highlights. |
| Shutter lag causing missed action shots | High-resolution processing or slow shutter speed. | Switch to Master Motion Photo or manually set a fast shutter speed (e.g., 1/500s or faster). This ensures instant capture of moving subjects. |
Best Practices (Do It Right Long-Term)
- Shoot in RAW MAX whenever lighting is complex — this preserves the maximum 15EV high dynamic range for professional post-processing using O-Log2.
- Utilize the 3x Super Portrait Telephoto for close-up subjects — this 70mm focal length provides a highly flattering perspective with a 15cm macro capability.
- Keep the Luminous Engine updated via ColorOS 16 — this ensures you always have the latest computational photography algorithms and performance optimizations.
- Leverage the 24 spectral channels of the True Color Camera — this guarantees highly accurate color reproduction under challenging artificial light sources.
- Use the physical volume button as a shutter release — this minimizes screen-tap vibrations and mimics the feel of a traditional camera.
- Regularly back up your high-resolution files using PC Connect — this keeps your phone's storage clear while maintaining a seamless desktop editing workflow.

Recommended Tool: OPPO Find X9 Ultra
Why Choose the OPPO Find X9 Ultra?
- Co-engineered Hasselblad Master Camera System provides unmatched color fidelity and professional manual controls out of the box.
- The state-of-the-art eight-focal-length imaging system gives you the versatility of eight professional lenses in a single pocket-sized device.
- A massive 7050mAh battery paired with 100W SUPERVOOC charging ensures you can shoot all day without worrying about power.
- The ProXDR Display with 3600 nits peak brightness allows for accurate on-set image review even in direct sunlight.
When to use it: Use it when you need a highly portable, top-tier creative tool for professional-grade photography and 8K video; do not use it if you prefer a basic, point-and-shoot experience without manual adjustments.
FAQs
Q: How do you shoot professional photos with the OPPO Find X9 Ultra?
A: To shoot professional photos with the OPPO Find X9 Ultra, you should leverage the Hasselblad Master Mode for full manual control over ISO, shutter speed, and white balance. Combine this with shooting in RAW MAX format to capture the full 15EV dynamic range, and select the optimal focal length from the eight-lens system to match your composition.
Q: What makes the Hasselblad collaboration special on this device?
A: The collaboration co-engineers the imaging system to deliver Hasselblad Nature Tonality and faithful color reproduction. It includes custom film-style presets and a calibrated color pipeline that ensures professional-grade results.
Q: Can I shoot professional video on the OPPO Find X9 Ultra?
A: Yes, the device supports 8K Ultra-Clear Video Recording at 30fps with 10-bit Log recording (O-Log2) and an ACES-certified color pipeline, allowing for seamless integration into professional editing workflows.
Q: How does the 10x optical-zoom telephoto lens perform in low light?
A: The 10x optical-zoom lens features a large 1/2.75-inch sensor and a DSLR-grade ƒ/3.5 aperture, which, combined with the LUMO Image Engine, delivers clean, sharp images even in challenging lighting conditions.
Q: What is the benefit of the 24 spectral channels in the True Color Camera?
A: The 24 spectral channels capture significantly more light and color data than standard sensors, allowing the phone to accurately balance tones and prevent color distortion under complex lighting.
Mastering professional photography on the OPPO Find X9 Ultra is an incredibly rewarding experience. By utilizing the Hasselblad Master Mode, selecting the precise focal lengths, and shooting in RAW MAX, you can capture breathtaking, gallery-quality images directly from your pocket. Ready to elevate your creative journey? Explore the full capabilities and technical specifications of the flagship OPPO Find X9 Ultra today.