How to Use OPPO Find X9 Ultra's Eight-Lens Camera System (Step-by-Step)
Author
Adam
Professional Mobile Photographer & Tech Reviewer
What Is the OPPO Find X9 Ultra Eight-Lens Camera System?
The OPPO Find X9 Ultra camera system is a premier mobile imaging setup co-engineered with Hasselblad, featuring dual 200MP sensors and a 50MP 10x optical-zoom telephoto lens. It utilizes the advanced LUMO Image Engine to seamlessly bridge eight distinct focal lengths from 14mm to 230mm. This system solves the traditional smartphone limitation of digital degradation at high zoom levels, providing creators with a versatile, pocket-sized toolset that behaves like a professional camera bag.
Quick Answer (Do This First)
Scenario A: Quick Everyday Shooting
- Open the Camera app and use the quick-toggle focal lengths (0.6x, 1x, 3x, 6x, 10x, 20x) for instant, sharp framing.
- Keep AI Scene Enhancement enabled for automatic, balanced exposures in mixed lighting.
- Tap to focus and slide the exposure ring to quickly manage highlights.
Scenario B: Professional Creative Control
- Swipe to "Master" mode to access the Hasselblad Master Mode for manual ISO, shutter speed, and white balance.
- Select RAW MAX in the top menu to capture uncompressed 50MP or 200MP sensor data.
- Mount the device on a tripod when utilizing the 230mm telephoto lens for maximum stability.
Prerequisites (What You Need)
- OPPO Find X9 Ultra smartphone running ColorOS 16 or later
- Fully charged 7050mAh battery or access to a 100W SUPERVOOC charger
- At least 10GB of free storage space for high-resolution RAW MAX files
- Optional: OPPO Find X9 Ultra Hasselblad Earth Explorer Kit for advanced physical lens attachments
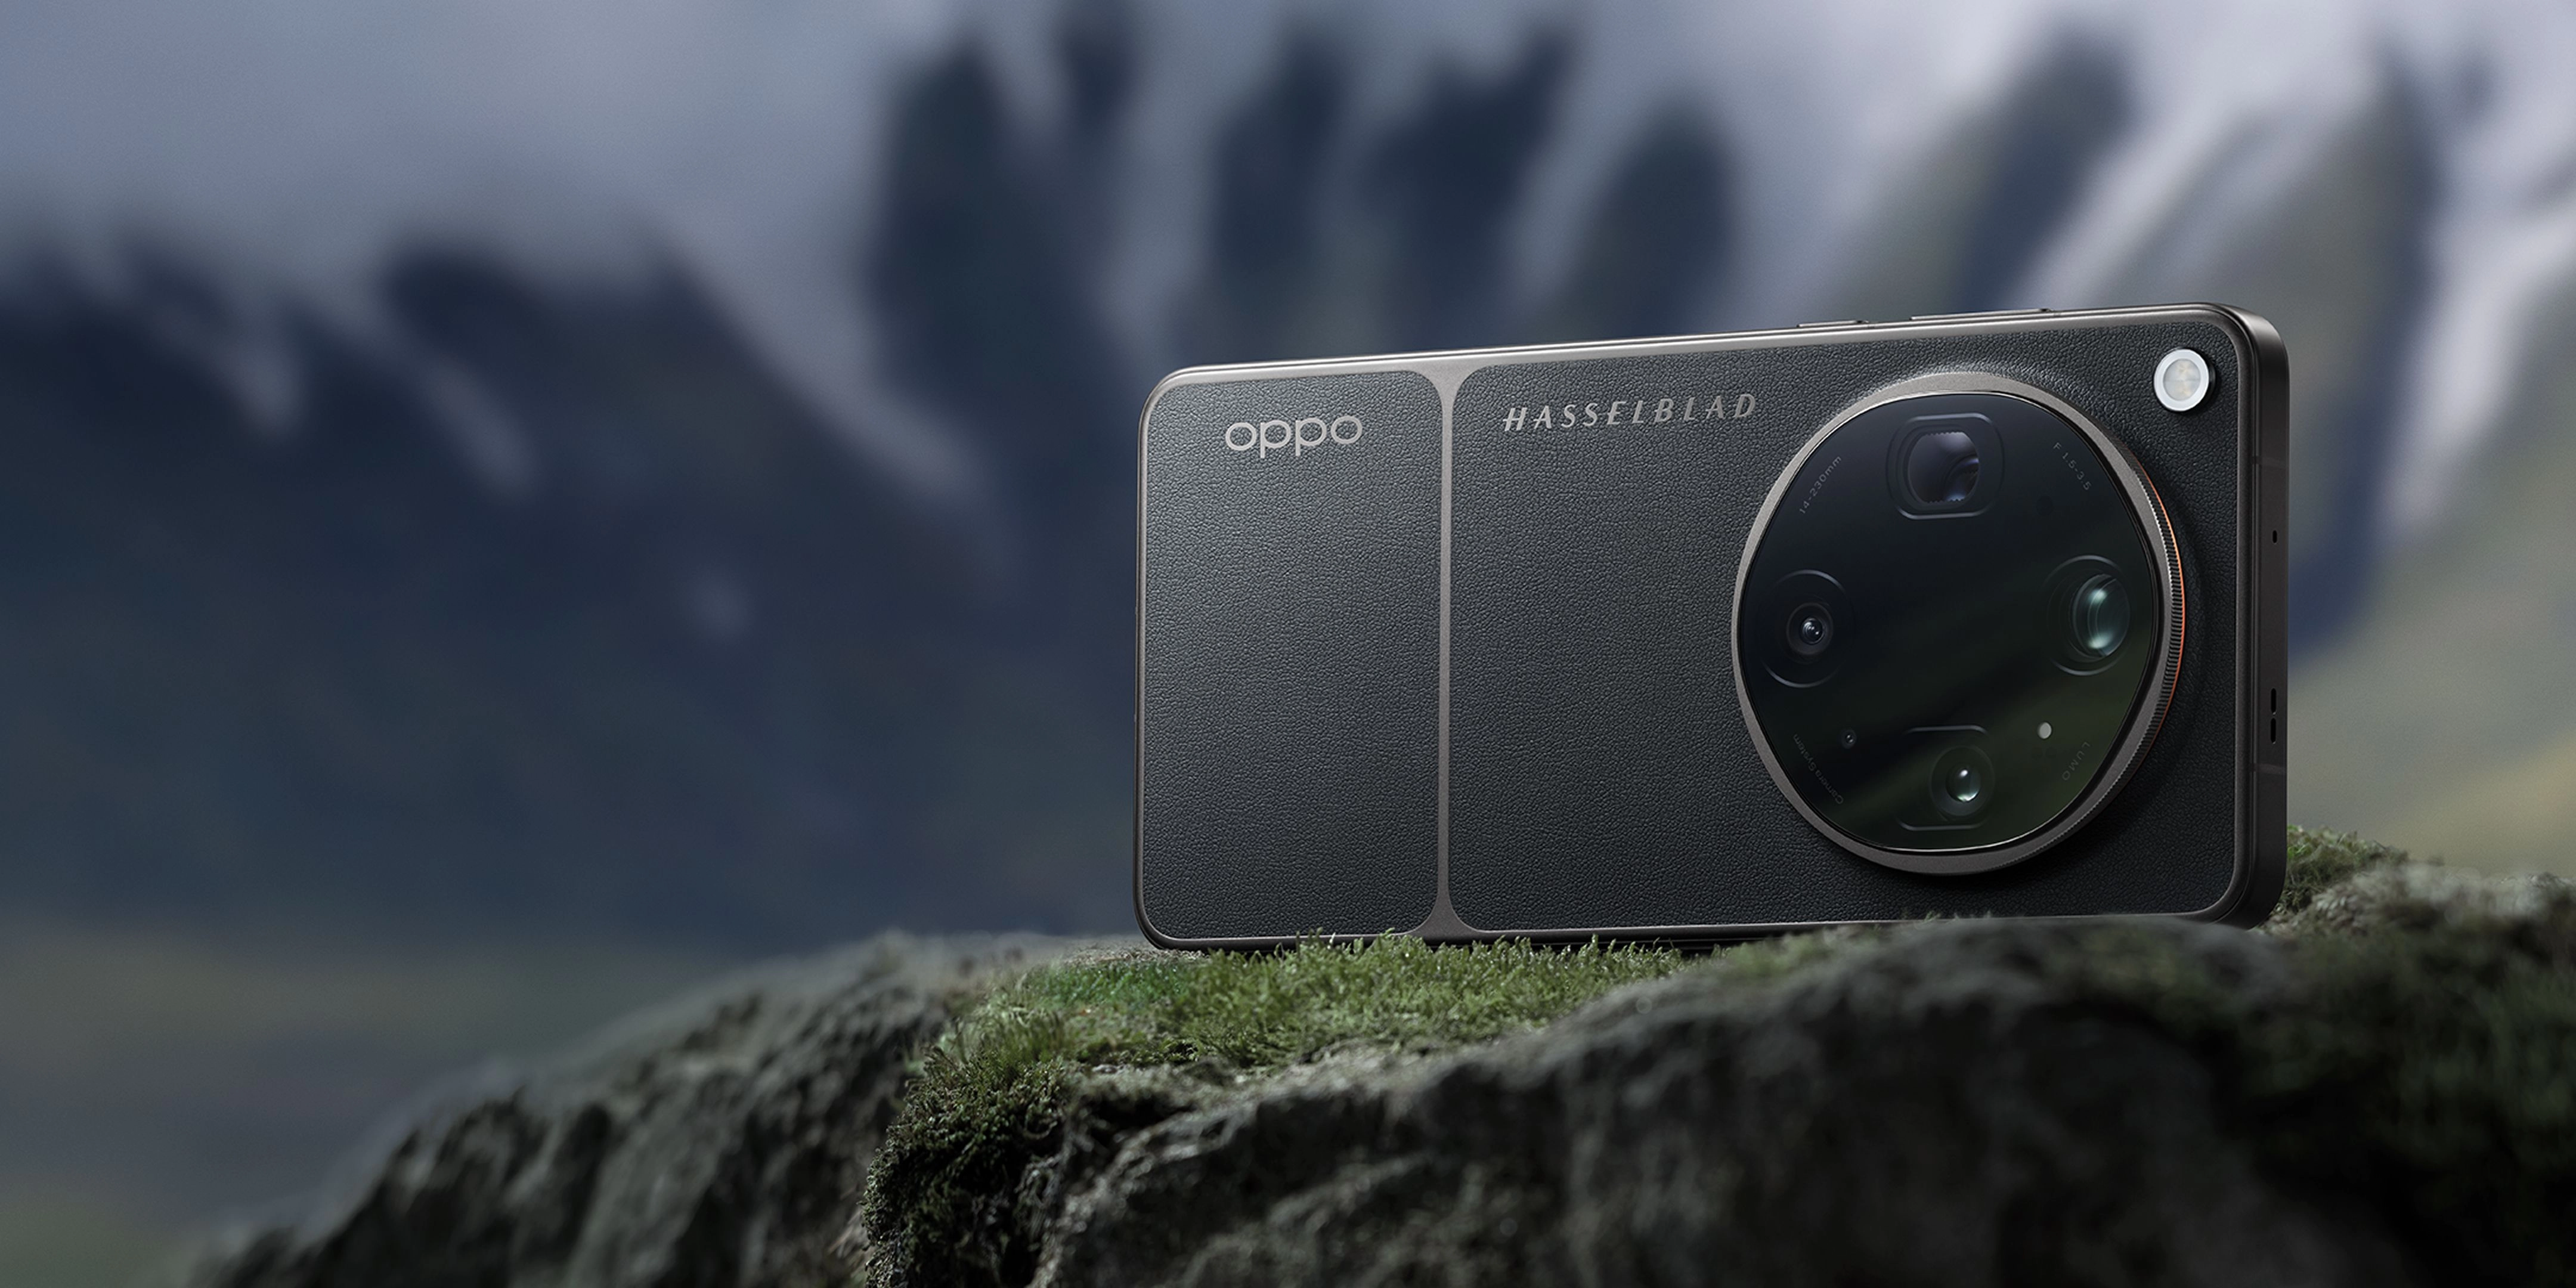
The premium rear design of the OPPO Find X9 Ultra featuring the Hasselblad Master Camera System.
Step-by-Step: How to Use the Eight-Lens Camera System
Step 1: Accessing the Focal Lengths Open the native Camera app and locate the focal length selector at the bottom of the viewfinder. Tap on the preset markers (0.6x, 1x, 3x, 6x, 10x, 20x) to switch between the ultra-wide, main, and telephoto lenses.
✅ Success: The viewfinder transitions smoothly between lenses without stuttering, maintaining consistent color temperature and exposure.
⚠️ Common mistake to avoid: Do not pinch-to-zoom manually if you want precise optical-quality steps, as tapping the preset markers ensures you land exactly on the optimized focal lengths.
Step 2: Engaging the 10x and 20x Optical-Quality Zoom To capture distant subjects, tap the 10x or 20x zoom options to engage the 50MP Ultra-Sensing Optical-Zoom Telephoto camera. This utilizes a quintuple prism reflection periscope structure and true 10x optical zoom technology to preserve fine details.
✅ Success: Distant text or textures appear sharp and legible, stabilized by the active optical alignment and sensor shift.
⚠️ Common mistake to avoid: Avoid sudden movements while framing at 20x zoom, as even minor hand tremors can shift the composition significantly.
Step 3: Configuring Hasselblad Master Mode Slide the mode carousel to "Master" to unlock professional-grade manual controls. Tap on individual parameters like ISO, Shutter Speed (S), Focus (F), and White Balance (WB) to adjust them using the precise on-screen dial.
✅ Success: The manual settings update in real-time on the 144Hz 2K ProXDR display, allowing you to dial in the exact exposure.
⚠️ Common mistake to avoid: Do not forget to reset your ISO and shutter speed to auto if you transition quickly to a different lighting environment.
Step 4: Shooting in RAW MAX for Maximum Dynamic Range While in Master Mode, tap the format icon at the top of the screen and select "RAW MAX". This captures uncompressed data from the largest camera sensors, utilizing the 24 spectral channels of the True Color Camera.
✅ Success: Saved files will have a ".DNG" extension and contain up to 15EV of high dynamic range for post-processing.
⚠️ Common mistake to avoid: Avoid shooting everyday casual photos in RAW MAX, as these files are extremely large and will quickly consume your storage.
Step 5: Setting Up Cinematic 8K Video Switch to Video mode, tap the resolution settings at the top, and select 8K at 30fps. Enable the O-Log2 profile to capture a wider color gamut, ensuring a professional workflow.
✅ Success: The recording indicator shows 8K active, and the preview displays a flat, high-dynamic-range image ready for color grading.
⚠️ Common mistake to avoid: Do not record long 8K videos without ensuring your device has adequate cooling clearance, though the 3D Cryo-velocity system handles sustained recording exceptionally well.
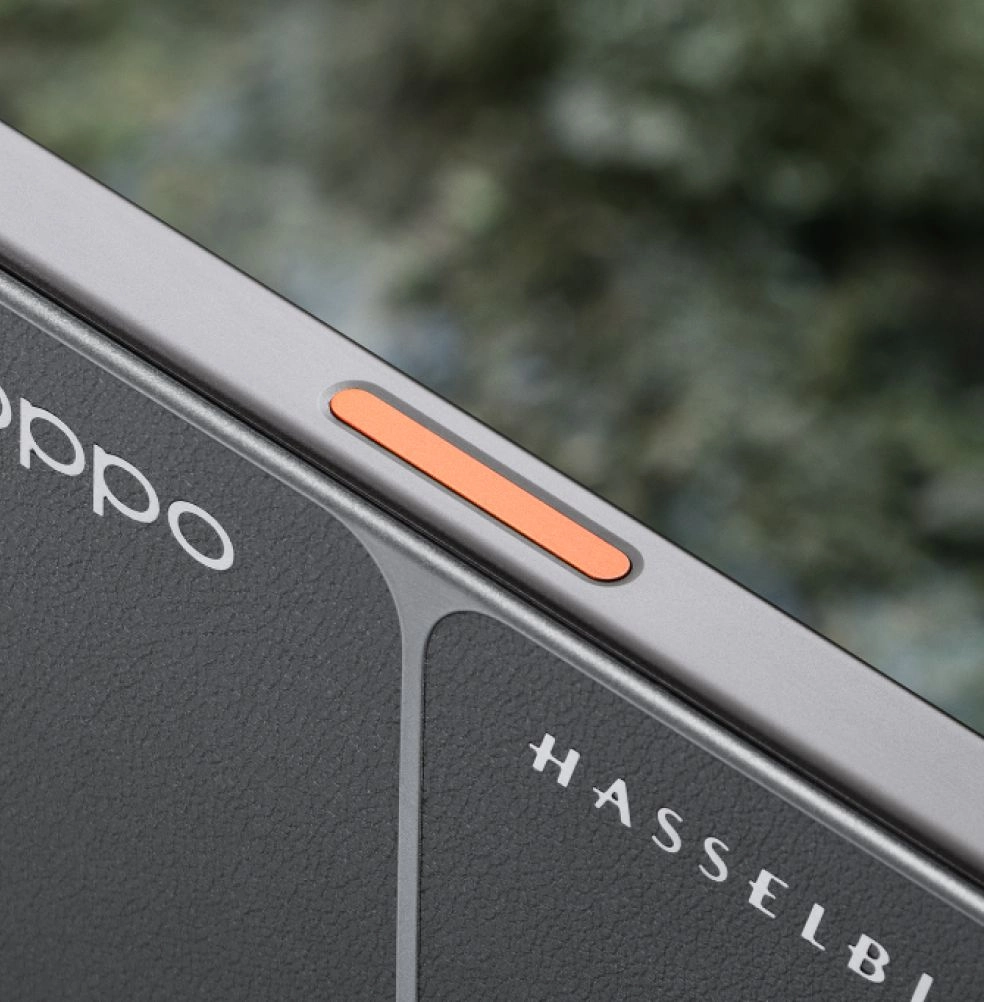
The rugged, Scandinavian-inspired design of the Find X9 Ultra built for outdoor expeditions.
Insights from the OPPO Creator Community
Mastering the 8 Focal Lengths
"The Find X9 Ultra features the world's leading eight ultra-clear focal length system, covering everything from 0.6x to 20x optical-quality zoom. To get optimal results, use the 14mm ultra-wide (f/2.0) for landscapes, the 23mm main camera (f/1.5) for low-light street photography, the 70mm (f/2.2) for portraits with natural bokeh, and the 230mm telephoto (f/3.5) with the Quintuple Prism Reflection structure for extreme close-ups."
MobilePhotoPro99
Posted on 2026-03-12
Hasselblad Master Mode RAW MAX
"If you want to unlock the full potential of the dual 200MP sensors, switch to the New-Generation Hasselblad Master Mode. This gives you full manual control over ISO, shutter speed, focus, and white balance. For post-processing, I highly recommend shooting in RAW MAX or ProXDR. The 24 spectral channels on the True Color camera capture incredibly accurate natural tones, giving you a 15EV high dynamic range."
ShutterBug_Tech
Posted on 2026-04-05
Cinematic 8K Video Setup
"To record cinematic videos on the Find X9 Ultra, set your resolution to 8K at 30fps. Enable the O-Log2 profile to capture the highest dynamic range and widest color gamut. You can preview your footage in real-time with cinematic LUTs applied, or even burn them directly into the video. The ACES-certified color pipeline ensures your colors remain consistent from shoot to edit."
VlogWithAlex
Posted on 2026-05-20
Validation Checklist (Make Sure It Worked)
Viewfinder transitions smoothly across all eight focal lengths from 0.6x to 20x.
Photos captured at 10x zoom show crisp details without digital pixelation.
Master Mode manual adjustments (ISO, Shutter) reflect immediately in the live preview.
RAW MAX files are successfully saved as .DNG format in your gallery.
8K video files are recorded at a stable 30fps with the O-Log2 color profile applied.
The True Color Camera accurately captures subtle color gradations in challenging lighting.
ProXDR display correctly renders high-contrast highlights and deep shadows during playback.
Quick Share successfully transfers large RAW or 8K files to connected devices.
Common Issues & Fixes
| Problem | Cause | Fix |
|---|---|---|
| Blurry images at 10x or 20x zoom | Hand movement or slow shutter speed in low light. | Use a tripod or increase the shutter speed manually in Master Mode. |
| RAW MAX option is greyed out | The camera is set to standard Photo mode or high-speed burst. | Switch to Master Mode and ensure single-shot is selected. |
| 8K video recording stops unexpectedly | Insufficient storage space or extreme ambient temperatures. | Free up storage space and avoid recording in direct, intense sunlight. |
| Colors look flat or washed out in video | O-Log2 profile is enabled without a LUT applied. | Apply a cinematic LUT in real-time or during post-processing to restore contrast. |
Best Practices (Do It Right Long-Term)
- — Clean the camera lenses regularly with a microfiber cloth — because dust or smudges on the large-format sensors can degrade image contrast and cause light flares.
- — Utilize the 144Hz ProXDR display to review exposure on-set — because the 3600 nits peak brightness ensures accurate color representation even under direct sunlight.
- — Leverage the 100W SUPERVOOC charger before intensive shoots — because shooting high-resolution RAW files and 8K video demands significant power.
- — Keep ColorOS 16 updated to the latest version — because software updates regularly optimize the LUMO Image Engine and AI tracking algorithms.
- — Use the Hasselblad Earth Explorer Kit for outdoor expeditions — because the physical adapter rings and teleconverter provide unmatched optical flexibility.
- — Organize your media using the AI Bill Manager and AI Mind Space — because managing thousands of professional assets requires smart, automated categorization.
Recommended Tool: OPPO Find X9 Ultra
- Equipped with dual Hasselblad 200MP cameras for unmatched resolution and detail.
- Features a 50MP 10x Ultra-Sensing Optical-Zoom Telephoto lens with up to 120x digital zoom.
- Powered by the Snapdragon 8 Elite Gen 5 and Trinity Engine for seamless 8K video processing.
- Includes a massive 7050mAh battery with 100W SUPERVOOC wired and 50W AIRVOOC wireless charging.
When to use it: Use it when you need a top-tier, professional-grade camera system that fits in your pocket. Do not use it if you only require basic, casual snapshots with no interest in manual controls or high-resolution editing.
Frequently Asked Questions
How do I use the OPPO Find X9 Ultra camera for professional photography?
To get professional results, switch to the Hasselblad Master Mode, select RAW MAX for uncompressed 15EV dynamic range, and utilize the eight precise focal lengths. This allows you to capture professional photos on flagship phones with complete manual control over exposure, focus, and white balance.
What makes the eight-lens system on the Find X9 Ultra unique?
The Find X9 Ultra uses an advanced eight-focal-length imaging system powered by the LUMO Image Engine. This coordinates multiple high-resolution sensors, including dual 200MP cameras and a 10x optical-zoom periscope lens, to cover focal lengths from 14mm to 230mm with consistent color and detail.
How do I record cinematic videos on this device?
You can record cinematic 8K video recording at 30fps by enabling the O-Log2 profile. This captures the widest color gamut and highest dynamic range, which can be monitored in real-time using custom Cube LUTs.
Does the Find X9 Ultra support true optical zoom?
Yes, it features a 50MP 10x Ultra-Sensing Optical-Zoom Telephoto camera that provides true 10x optical zoom. It also supports up to 20x optical-quality zoom through advanced sensor cropping and LUMO engine processing.
How does the large sensor benefit low-light photography?
The Find X9 Ultra features some of the largest camera sensors available in modern smartphones, including a 1/1.12-inch main sensor with a super-large f/1.5 aperture. This allows the camera to capture maximum light, reducing noise and preserving natural textures in low-light environments.
Mastering the OPPO Find X9 Ultra's eight-lens camera system allows you to transition from a casual shooter to a mobile filmmaker. By leveraging the Hasselblad Master Mode, RAW MAX capabilities, and the powerful LUMO Image Engine, you can capture stunning, professional-grade imagery in any environment. To explore more about this state-of-the-art device and join our global creator community, visit the official OPPO Community.